Pages

Showing posts with label Project Run and Play. Show all posts

Sunday, March 7, 2021

Honey Yellow Bee Hoodie and Shorts


I can see why one of the Pantone colors of the year is a bright sunny yellow.  It's one of those colors that reminds you of growing things and summer.  

So when I saw this labeled parts of a bee panel, I just had to buy it to make a fun summer outfit for my grandson.


When I began to lay out my pattern, I knew that I wanted the labeled bee to be the focus of my garment. Positioning the bee drawing can be a little tricky, as I wanted the bee illustration to be in a particular spot in the finished garment. To achieve that , I cut my pattern piece out of a semi-transparent tracing fabric so I could lay it on top of the panel and see it's position. I know this seems like a lot of extra work, but it has saved me so many times from making a cutting error, that I think it is worth it. 

 In order to get most of the labels to fit, I ended up having to widen the front piece. If I didn't widen it, even part of the wing would have been cut off. 
I added a pocket to this curved section of the top. 
Adding details to garments makes them special.  On the waistband, I added an applique of a bee hive.
Using my sewing machine straight stitch, I tried to create a bee flight pattern of the two hearts. At the end of the flight pattern,I stitched on a larger bee that was printed in the selvage edge of my fabric.  


This is the back of the knee-length shorts I made to go along with the shirt.  My grandson loves comfortable elastic waist shorts. 

 I like this design because of deep pockets that are just right to store those valuable finds (like shiny rocks) children seem to find while playing outside.

Smiles,
Deborah

Tuesday, January 19, 2021

Hipster Bunny Top and Paper-Bag Pants

This hipster bunny was just waiting in my fabric stash to be a "something special" outfit. 


I have been experimenting with the "Story" pattern from the Project Run and Play collection.  This time I again created the color blocked front yoke on the top front.  The placement of the yoke allows me to center the hipster bunny in just the right place. 

 I love the little cap sleeve I used, instead of the long sleeve.

The pattern does feature a sweet little curved neckline that I quite like!  My granddaughter does not like hoods, and so many patterns now days feature hoods instead of a curved neckline.

I used my coverstitch sewing machine to sew two lines of topstitching. This topstitching keeps the neckline flat and is a fun design element too. As you can see, I reduced the width of the neckline ribbing a lot. I wanted just a hint of the aqua blue....


I hemmed the shirt instead of using a rib band at the bottom, because I wanted it to be tucked into the waist of the coordinating paper bag pants.


These comfortable pants feature elastic at the waist and hemline.  Easy on and so comfortable to wear in this cotton/spandex knit fabric. 

I centered a bunny on each of the back pockets.

These long narrow pockets in the front add just the right amount of punch.  I banded the pockets with thin strips of the XXX fabric. 

I hope you enjoyed see my "One of a Kind" creation.

Smiles,

Deborah

Tuesday, January 12, 2021

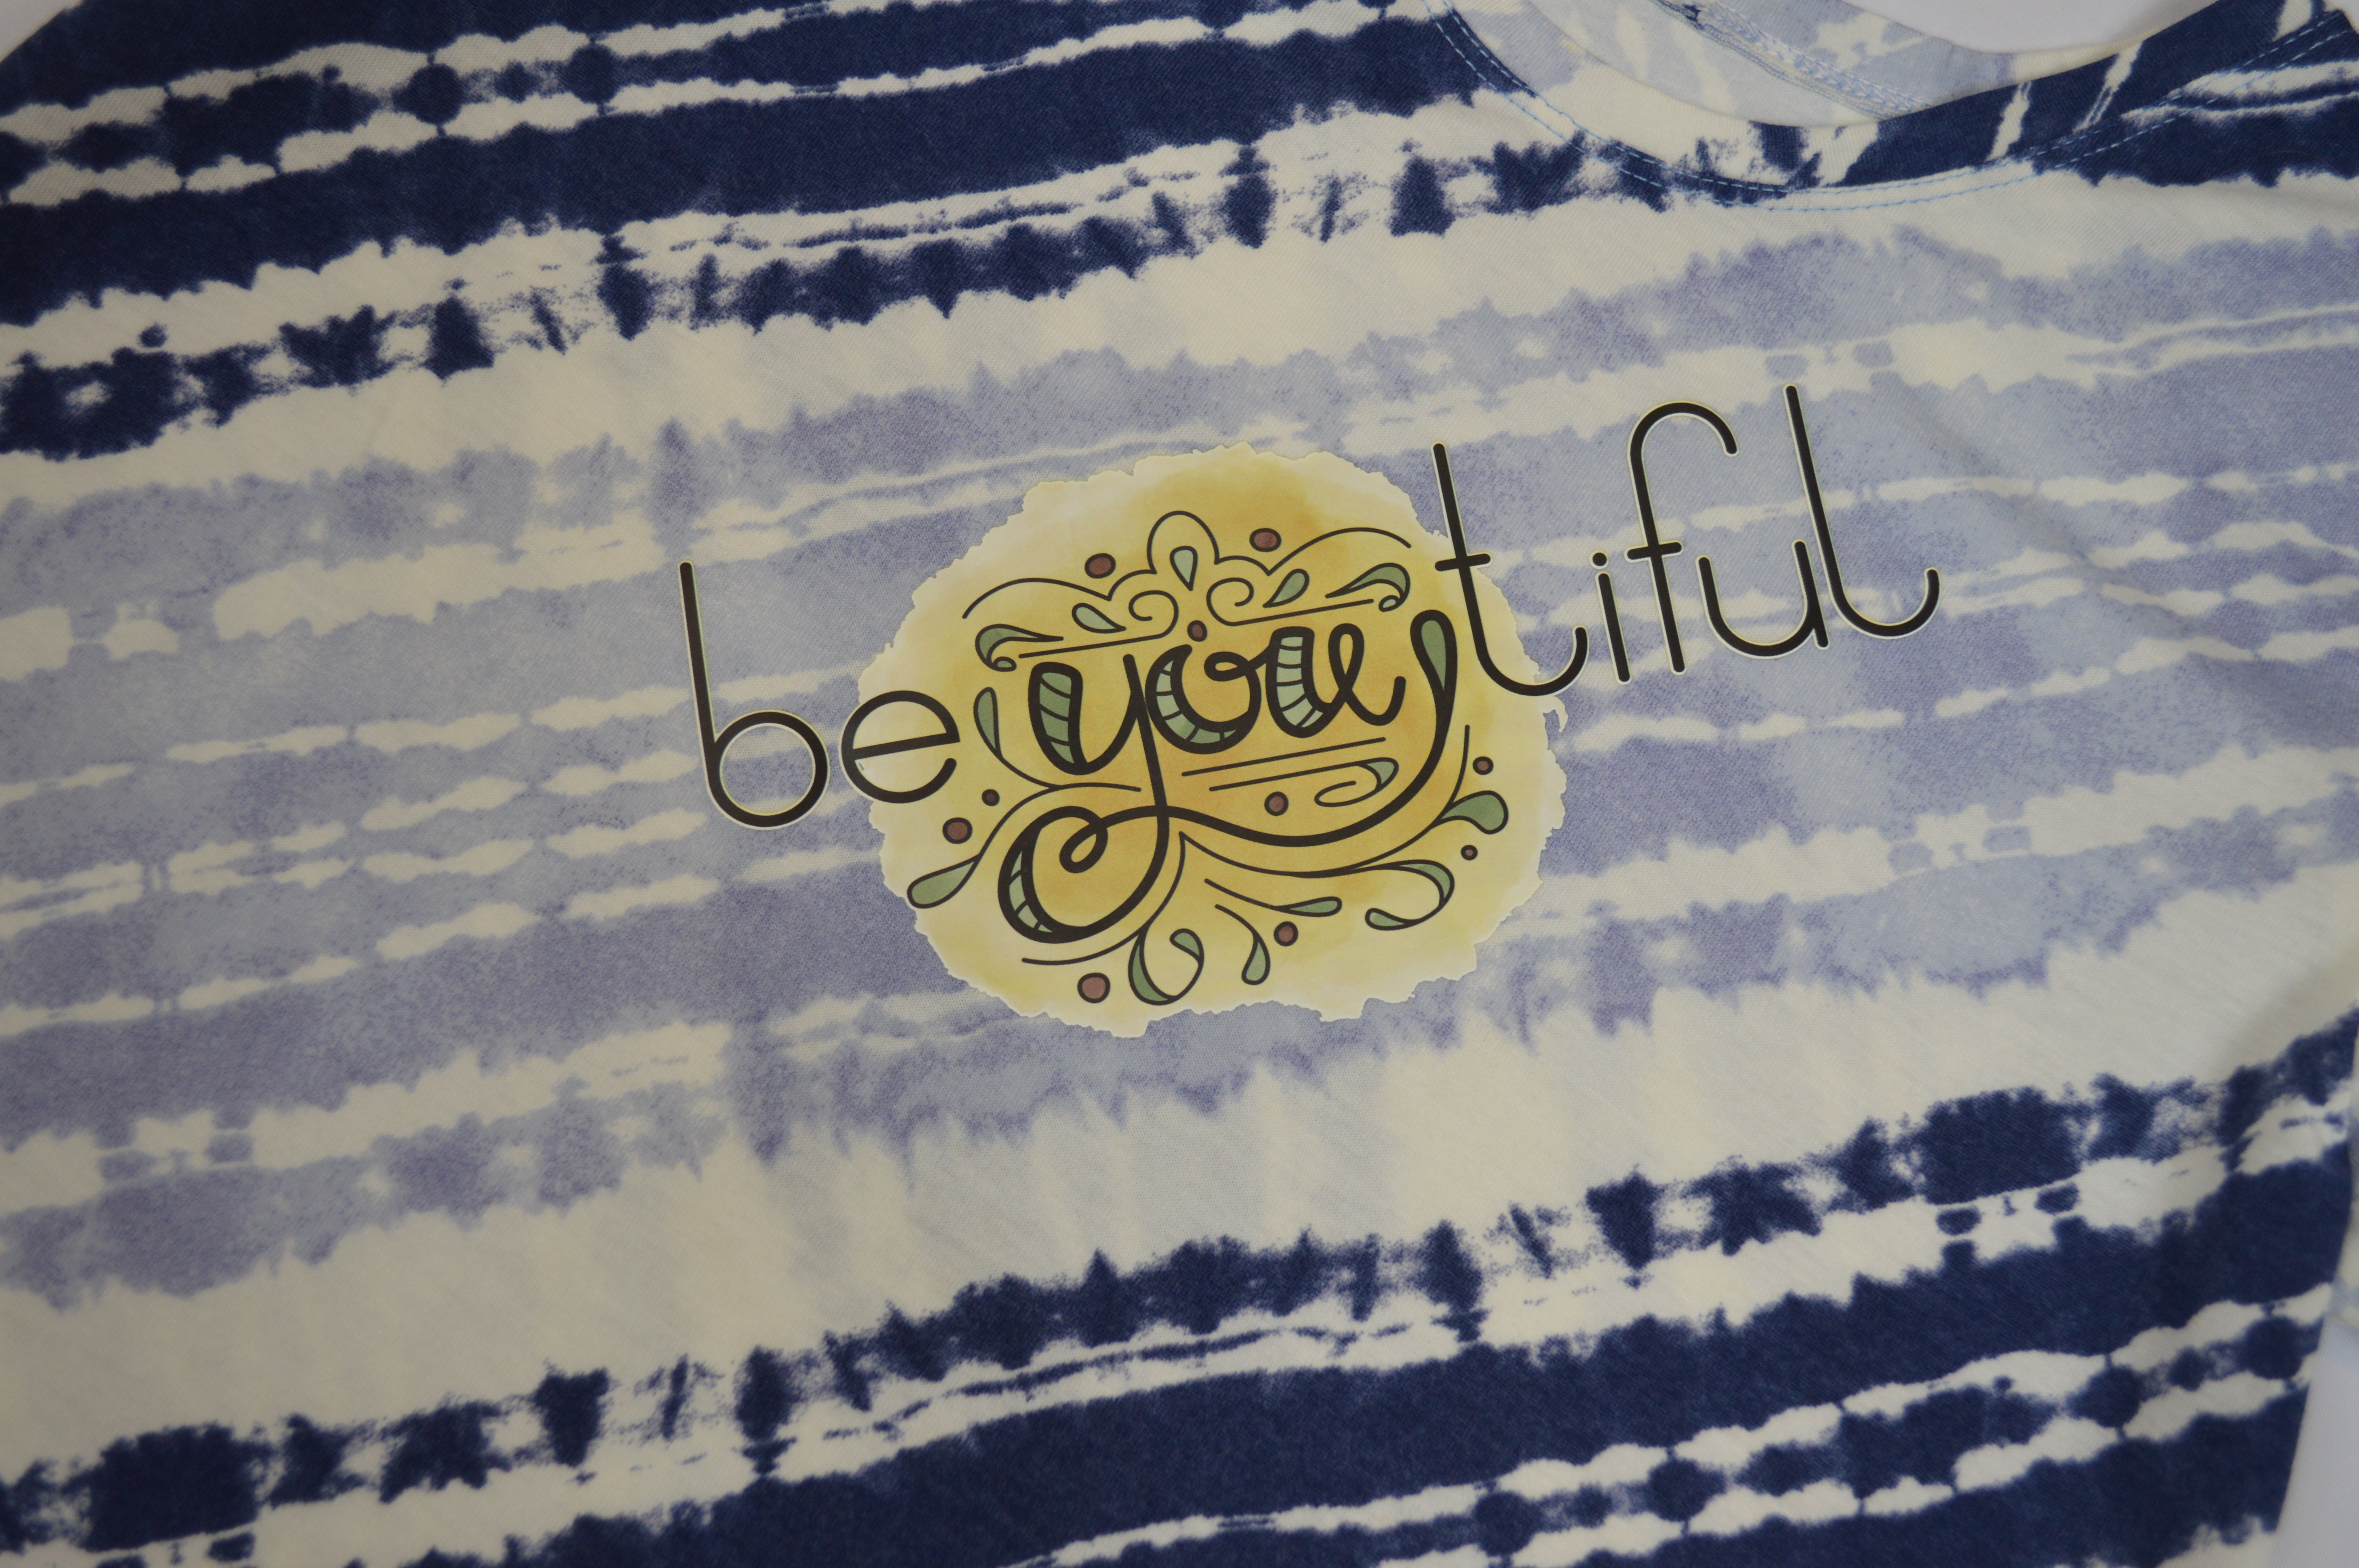
A Comfortable Trio of Garments for a Be-you-ti-ful Girl

I created a coordinated outfit out of soft bamboo and cotton knit for my

 be-you-ti-ful granddaughter.

 It's so soft and fluid that I know she will enjoy wearing it.


The first shirt that I made for her has long sleeves
that feature soft, floaty, romantic, and comfortable half bishop sleeves.
Notice how the fabric is gathered to the top of the sleeve and billows out, then is gathered again at the cuff.


This pattern is from a collection of patterns featured on 
Project Run and Play
called the

Project Lounge Library Capsule.

This particular pattern is the "Story." 

The second shirt was drafted from the Story pattern also. I changed the sleeves into a short cap  sleeve.


 Isn't it amazing how different a pattern can look when you just change

the style of sleeves.  Another change I made was to decrease the width of the

 neck binding to 1 3/4 inch.  The design of the fabric provided the opportunity

to use a vinyl iron-on decal to add a bit of personality to the garment.

Lastly, I made some comfortable jogger pants with a paper-bag

elastic waistline. The added waistline tie added even more to the design.


Of course, this outfit was 

"made with love."

Saturday, March 28, 2020

Dragons and Fairytail Clothing for Boys

Dragons

Fairytails and Dragons...they just seem to go together. 

In this modern fairytail, Toothless the Dragon, finds a girlfriend to share his adventures. When you add a girlfriend that is gentle and playful by nature, like Toothless, but fiercely protective when danger is present, there is a lot of action in the story.

Since my grandson enjoys clothing that is comfortable and athletic in cut, I made sure that this garment met all his requirements. The fabric is a cotton/Lycra blend that is so soft. Inside the garment, all the seams are serged to make it even more comfortable.

 I even added a slouchy beanie hood to go with the outfit.
By the way, this hat is made with a free Internet PDF pattern from "Patterns for Pirates" website and is called the Free Slouchy Beanie.  It was a very quick sew.

Smiles,
Deborah
 

Tuesday, June 26, 2018

Scuba Fabric: Hip Wrap-Around Skirt, Top, Leggings


Scuba Fabric is so fun to work with as it gives you the freedom to create garments with raw cut edges.
So when I created my entry for the Project Run and Play 
I felt that this outfit best represented my own unique style, taste, and showcases my skill set when sewing.

Creating an outfit than also satisfies the wants of a pre-teen girl... can be risky too.  So I always try to discuss the project with her as I sew, so she will be happy with the finished project too. I wanted long sleeves for the fall...she wanted short sleeves. I wanted an all raspberry top... she wanted all black.                        So I compromise and she compromises too. 

The pattern for this skirt is a German pattern.

BeeRocky Kids Gr. 110 - 152 in zwei Längen

No, I don't speak or read German!  I use Google Translate   my own sewing knowledge, and the pictures for directions.
First, let's talk about the "fanny pack purse" on the front of the skirt. The original pattern had a snapped-on detachable purse which I made into a purse pocket sewn directly onto the skirt.
Using my own sewing knowledge about working with scuba knits (doesn't ravel), I knew that I could use a cutting blade to cut out an even edge on the pocket, and an opening for the zipper. The pocket would not be faced.

Then I used Dritz WashAway Wonder Tape around the pocket edge. You can stitch through this double-sided transparent tape without gumming your needle. So I used it to hold my zipper in place, while I sewed around it. In the photo, I have removed the protective paper. When I sewed around the zipper, I did 2 rows of stitching. One to hold the zipper in place, and one for FUN!
 

Then I laid the pocket onto the skirt front and top-stitched it into place. Lastly, I topped the edges with the circular patch for extra strength.  So when you look at this pocket edge you are viewing a raw edge.
This skirt sits below the waistline and hugs the hips.
I sewed the darts in this way because of the scuba fabric :
Mark your dart and iron a circle of fabric at the end of the dart.


 Cut the dart side open nearest the center back.


Overlap the dart edges and use stitch witchery under the dart and iron.

On the outside of the skirt sew one or two lines of stitching to hold it in place. I decoratively sewed two rows: down, turn,  over one stitch, turn, sew up. Now it's flat and still hugs the body with no bulk.
I also overlapped my side seams and sewed them flat.


The skirt is secured with a snap tape.


 Lastly, the original skirt was meant to be lined, but I cut a separate facing that was sewn onto the skirt wrong side to wrong side. Then I added a edging to finish the edge. No need to hem the skirt, just use the raw edge.
 
The facing and edging were added to strengthen the waistline seam and add a pop of color at the top of the skirt.   

A simple black knit tee, with added skuba knit cold shoulder sleeves was sewn to compliment the skirt.  
The same black knit fabric was used to make the relaxed fit elastic waist leggings/pants.
The legging were tucked inside her black boots.
We love it and hope you like it too. Any questions? Just comment below, 
as we read every comment and respond.

Smiles,
Deborah


Thursday, June 14, 2018

Stripes "Gone Wild" T-shirt with Matching Shorts

This shirt features stripes of all kinds.
Squiggly stripes and a standard black and white stripe, a stripe formed when I placed a 1 1/2 inch wide folded strip of fabric in the diagonal seam between the main panel and the side panel, and stripes created with topstitching details. 

Can you see the stripes created with the red topstitching thread and "the hemstitch" pattern on my sewing machine?
I decided to create a band of fabric to edge the hood. The stripe will "frame" the face of the wearer and create a lot of visual interest.
This is how I did that:

First, I cut out two sets of hoods in the solid red fabric.
 I measured an equal distance from the edge of the pattern down the front edge of the hood. Cut away that band of the hood ( the amount I decided on includes the seam allowance).


 Cut 2 hood bands out of a contrasting color or pattern. Since I needed the stripes of squiggles to match, and I was using scraps of that fabric to cut out this band,
 I first cut only one the the bands.

 Then I placed the first band right sides together on the fabric and exactly matched the stripes.  Now I knew that the stripes would match when I cut out the second band. 

 After cutting it out,I immediately sewed those two pieces together at the top of the hood seam allowance.


Since I didn't have to worry about ruining my only pattern because I could just print out another hood from the PDF. I cut that 3/8 inch seam allowance off of the hood stripe band, then I used the altered hood band pattern piece to cut off the red fabric that I would no longer need on one set of the red hoods. I laid the band next to the "now smaller hood," and marked the two edges that I would be sewing together later.  But first I sewed the seam along the hood, using two lines of stretch stitches sewn closely together.  I cut off the excess seam allowance to reduce bulk, press. 

Sew the band onto one hood. This becomes the outside hood. Sew the seam on the solid red hood, and this will become the lining to the hood.  


Place the hoods right sides together, pin, and then sew along the edge that frames the face. DO NOT sew the bottom edge.  I clipped the curved edges, turned the garment right side out, and pressed all seams.  
Before attaching the hood to the shirt, I did some decorative topstitching. The hood edges overlap at the neck seam, so I did not plan to insert a grommet for a string. You may want that design element in your garment.


 Whether the hoods is worn up or down,
 it still adds a wonderful design element.

 I made some matching red knit shorts to go with the outfit.
Smiles,
Deborah


Related Posts Plugin for WordPress, Blogger...