Pages

Showing posts with label Built-in Bookcase/Windowseat. Show all posts

Friday, August 1, 2014

How to Design and Build a Built-in Bookcase with a Windowseat

My blog friend, Elizabeth from Simple Simon and Company, is asking her blog friends about some suggestions on creating a living room that you love.  So I sent her a comment and invited her to take a look at my finished built-in bookcase with
 a connecting windowseat.  


Adding this architectural detail to my room made such a difference!

It all started with this set of arched bookcases that I purchased from Craigslist.

Since I posted 10 times as I worked on this project, I wanted to make it easy for you to see all the steps involved in making it come all together from the beginning to even making the cushion and pillows.
Just click here to see the whole story.
Part 1, Part 2, Part 3, Part 4, Part 5,   Part 6, Part 7, Part 8, Part 9, and Part 10.  

So Elizabeth, my advice is to add architectural interest.

By the way, I'm not finished with my living room either. Any advice from my readers about what to add next?
I'm thinking about adding this coffee table in front of the couch.

Smiles,
Deborah

Saturday, June 28, 2014

Adding the Pillows to my Windowseat

I'm trying to think outside of my normal symmetrical thinking. 

Could you help me?

Here is how I would normally place the pillows:

Mary, my decorator friend, suggested this:


My daughter suggested this:
Which one do you like best?


I made the envelope style pillow and the bolsters.  I plan to post about how to make the bolster. But, I just have to tell you how amazing this little sewing machine foot is...the piping foot. It makes making and applying piping SO MUCH easier. So come back and I"ll tell you all about it.

 Smiles,
Deborah

Thursday, June 19, 2014

Built-in Bookcase/Windowseat: Finished Cushion, Part 9

I'm so excited...I finished my cushion and I just LOVE IT!
 It is the best fitting cushion that I've ever made.


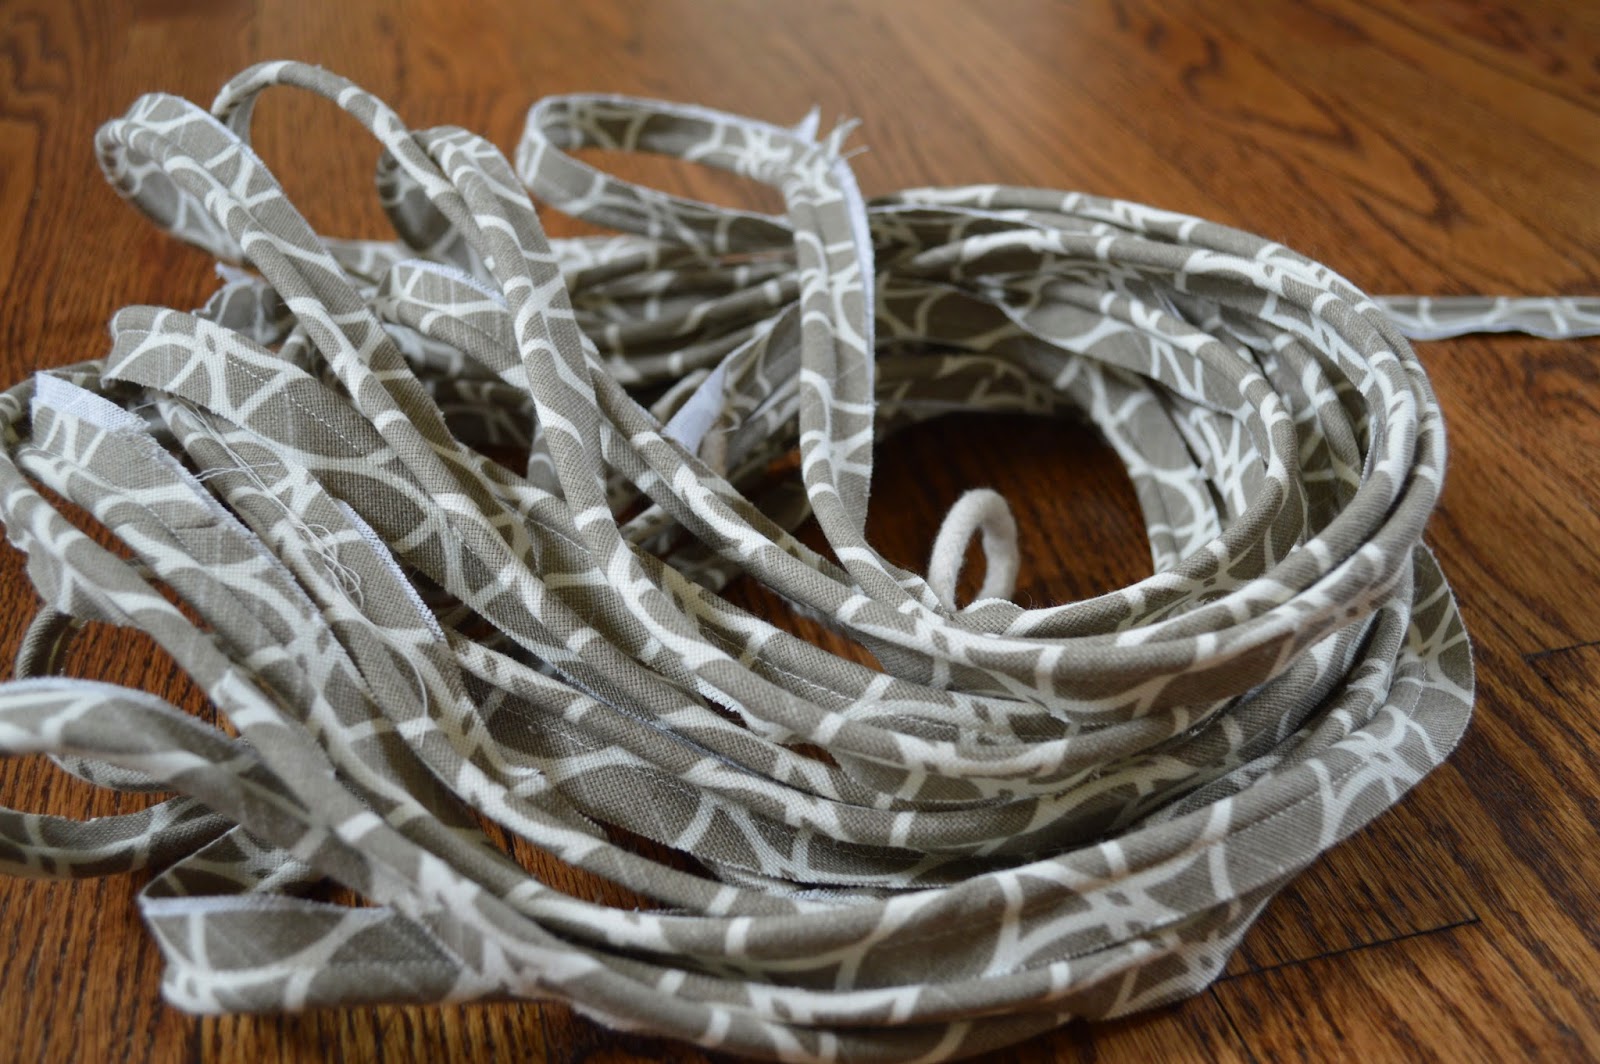
When I made these 20 yards of piping, the job seemed a bit overwhelming, but I just took it step-by-step
 and it all came together.

After I sewed on the top row of piping on the windowseat top, I realized that it was about one-half inch too big, and would not be as tight a fit that I wanted. 
 So since it was late at night,
 I went  to bed muttering nasty words.

At 5:00am, I was up with my ripper pulling all that piping off and  recutting the top one-half inch smaller. I just knew that the work would make a finished project that I would be happier with in the end.  
Yeap, much better when I tried the top on again. 

Just look at that nice tight fit.
Here is another related post about making the cushion: Making a pattern and cutting the foam for the cushion

Smiles,
Deborah

Wednesday, June 18, 2014

Built-in Bookcase/Windowseat: Cushion, Part 8

After visiting multiple different fabric stores, both in person and online, I finally chose this fabric for the windowseat cushion.


You see circles, but I see STRIPES. Stripes need to be matched, just like these circles need to be matched, so that will influence how I lay-out my fabric when cutting it out.

My windowseat is quite wide, so the circle stripes will run from the front of the seat to the back of the seat.


 I want the top and bottom to match.

 I  know you can't see them both at one time, but what if I get a terrible stain on the top?  I think the seat is symmetrical enough that I will be able to flip the cushion.

I also want the 3 inch strip between the top and bottom to match too. I have to admit that I have a "thing" about unmatched prints...it drives me crazy!

 SO when I laid out the fabric, I considered where the finished seam would end, so I could line up the circle stripes.
 Here goes.... I cut the fabric pieces one piece at a time. You can see from this photo that I used the first top section, flipped over right side to right side, to serve as the pattern for the bottom section. Now I know that they will match perfectly.
 
In the next post, I will show you how I made the covered piping.

  Hint: My husband always says,
 "The right tool for the job makes a HUGE difference in the finished product." 

Smiles,
Deborah

Saturday, June 7, 2014

Built-in Bookcase, Part 7...Windowseat Cushion


 The next step is to make a cushion for the windowseat. So I began by making a pattern.

I used this one inch graph paper that I had.  If you don't have this kind of paper, any paper is fine...shelf paper, wrapping paper, and even taped together newspaper.
I placed my paper on the windowseat and lined up the front edge. I taped it into place with blue painter's tape, as I didn't want to pull off any paint from the seat.  Then I used my fingernail to crease the paper at the back edges.

 I left one half inch around the pattern, so this pattern can be used for both  the foam and my fabric.

 Now it's time to use the pattern to cut out the foam. I again lined up the front edge and stuck my pin into the foam to hold it in place. Then using a thin marker and a yardstick, I traced the pattern onto the foam.


Well, I had a little problem finding 3 inch foam that was 27 inches wide and 103 inches long, so I couldn't buy it locally unless  I pieced the foam. Therefore, I went to the Internet. I obtained my 3 inch 30 inch wide from www.OnlineFabricStore.net.  It was actually 3 X 30 X 108 High Density Upholstery Foam and I am quite happy with it.

Now, to cut the foam. I used my electric knife. This picture shows you how to hold the knife perpendicular to the foam so your cut is straight on the face of the edge.  Just think of it as using a jigsaw. I placed my cutting board under the foam, and moved it as I cut the foam so I wouldn't distress the surface under the foam. 

 So how did that turn out?
Look at this BEAUTIFUL cut!!!
 And the pattern created cut foam that fit right into the corner of this trapezoid shaped seat.

Here is the finished cut foam, that's ready to be covered with my fabric.

Smiles,
Deborah 

If you want to read more about the building of this Built-in Bookcase/Windowseat just click on the link under Labels.

Tuesday, May 6, 2014

Built-in Bookcase, Part 6..Almost Finished

The bookcase/window seat is one more step closer to being completed now the I've put all the new hardware on the bookcase doors and added the glass shelves.
  Here it is....


I added safety glass/tempered glass to the panels nearest the window seat. I was worried that one of my granddaughters might accidently hit the glass with one of their feet as they laid out on the window seat cushions reading one of their books. I would never forgive myself if I didn't spend the extra money to protect them. Each of the two panels were $65.00 each for the safety glass. 


When I put the shelves in the bookcase, I placed them at different heights, so they are not symmetrical. I thought it was more interesting.  Here is a peek inside the bookcase:

This one features some of my Wizard of Oz books from my collection.  As a child, I read the whole 14 book collection and it has been a favorite of mine.  


This one is not finished, as I want to add more books.  The bookcases have mirror backs and puck lights at the top of the bookcase.
Now, on to sewing the cushion for the window seat.
Smiles,
Deborah

Wednesday, March 19, 2014

Built-in Bookcase/Windowseat, Part 5

Today, I have a guest interview with Raymond, who is a painter by trade and who showed me a few tricks to caulking on my bookcase/windowseat.


How do you cut the tip of your caulk tubes?
I cut it as small as I possibly can. Notice in the next picture how little he cut off the end of the tip.

Why do you carry a wet rag next to the caulk tube as you work?
I like to keep everything as clean as I possibly can. That includes my fingers and the end of a caulk tube. I also use it to dampen the end of my fingers as I work.  I wipe off the end of the caulk tube before I begin each time. Then I start with a clean tip, and not a glob of caulk.


This shows Raymond caulking a seam:


As soon as he finished going down the whole seam, he immediately wiped his fingertip and the end of the caulk
tube. He does it automatically!
What happens if you make a mistake?
I wipe it off with my damp cloth and start again.  It's easier to add more caulk to an area than ruining the seam because you began with too much caulk to start with.

Thanks Raymond!!!

Smiles,
Deborah

Sunday, March 16, 2014

Built-in Bookcase/Windowseat, Part 4

Once Jeff began adding the connecting arch to the bookcase/windowseat an amazing transformation began to happen. It "all came together."
This connecting support was anchored to the ceiling.
An arch was cut using
a jigsaw, with quite a few adjustments...
for both sides of the arch.
 
I added this picture to show you the depth of the arch on the side of the bookcase.


We were playing around with the molding on top of the arch, and decided to create a keystone. I wish I had my new camera that I ordered to show the detail of the moldings and the keystone that runs through the top of the moldings...sigh!

Here is the completed keystone along with filling in with the molding and crown molding. This area will look fabulous after some caulking is added before painting.

Jeff also finished off all the edges with arches, that were cut out of popular boards, and the back of the arch (so that when you sit in the windowseat the back looks finished too).

The next step is to do a bit more sanding, priming, caulking, and then after wiping down the whole thing with a tack cloth, to actually put on the final layer of paint.  I am using the same color of white paint as the existing molding in my house. I want to look like it has always been here.
 
How many hours have we put into this creation? 
 Thirty-three hours at this point plus the time obtaining supplies, pre-priming, and removal of the hardware. Sometime I think that HGTV gives us a warped idea of how quickly these little projects can be completed. Right?
 
Smiles,
Deborah
Related Posts Plugin for WordPress, Blogger...