Pages

Showing posts with label repurpose. Show all posts

Monday, April 2, 2018

A 'Happily Ever After' Recycled Outfit

I really enjoying harvesting the fabric out of used clothing and creating something entirely new.  First, it engages my brain. You need to mentally deconstruct the garment and devise a plan to reuse the parts.  So let's have some fun!


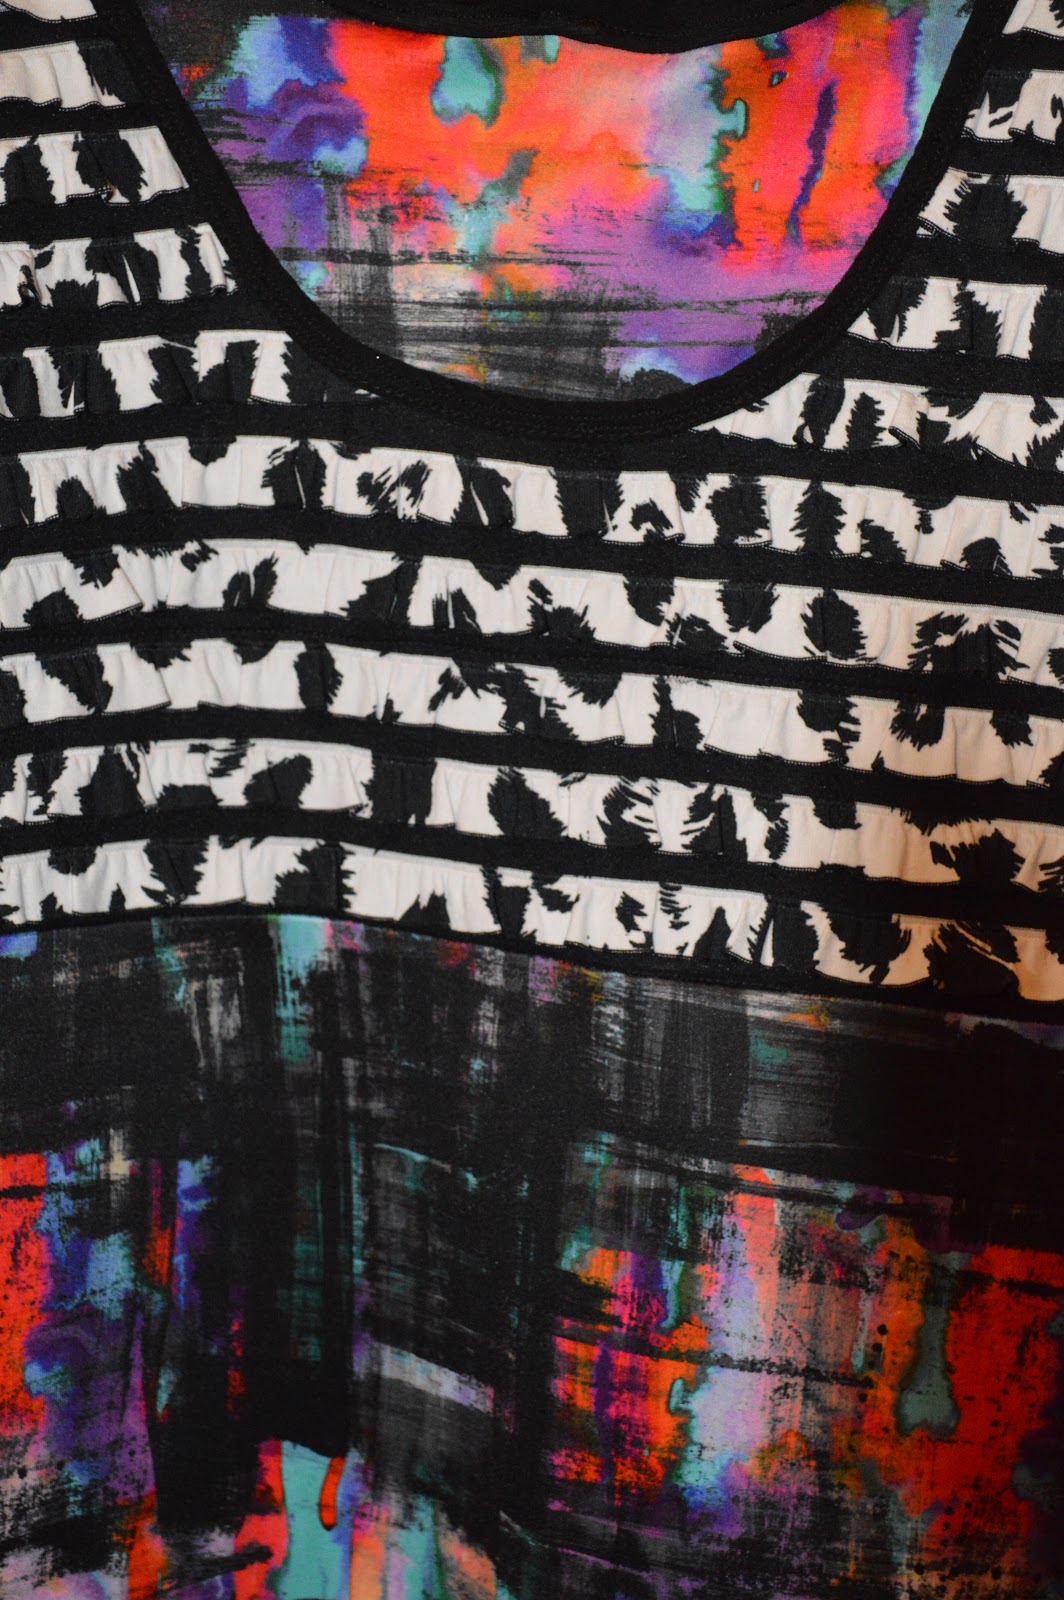
Once upon a time this dress belonged to a 29 year old woman.  She loved it, but alas her body changed and she passed it on to me. "Create something new for your 10 year old granddaughter," she said.
As I looked closer, I saw possibilities!

First, I began to deconstruct the dress.
 
What if I added a bit of new cotton and lycra knit fabric for the lower front and back of the top? I could use the recycled ruffled black and white print for the upper front and back...then all I would need to do is fill  in that scoop with the new fabric.

 After checking, I realized that there would be enough of this black and white ruffled fabric length to keep the curved seam on the front.


Adding this fabric at the top of the back will fill in that scoop. Now, I have a new back that will eventually support the neck edge of my hoodie that I will be adding.  


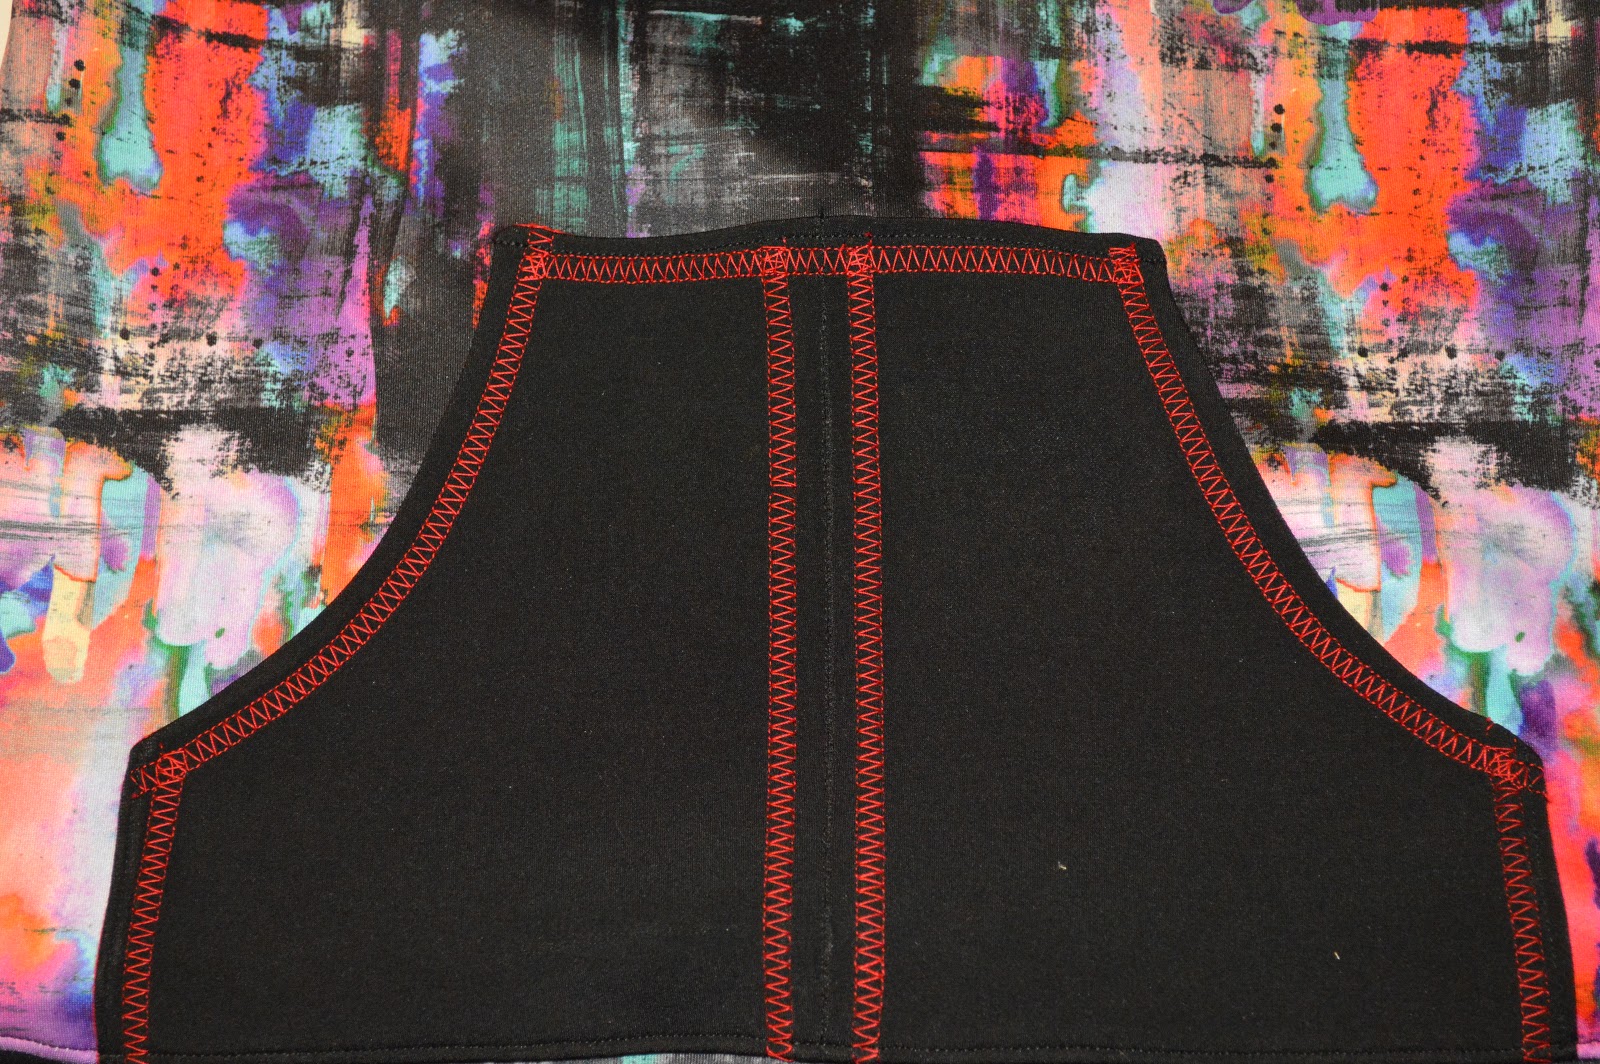
 When I cut out the pocket, there was not enough fabric to place it on the fold, so I'll just add a seam down the center.  I wish I had a coverstitch machine to do some decorative stitching. But I have a plan to use one of the decorative stitches on my machine to simulate a coverstitch. 
I will use some vibrant red thread to highlight the seams and no one will ever suspect that it should have been one large pocket instead of two. Stitching in the ditch down the middle of the seam will instantly make 2 pockets.

 Now on to the hood. I'll use more of my black dress fabric for the hood and the hood lining. The bright print will draw the eye to her face, and the red topstitiching will repeat the decorative element on the hood and the pocket together.

Use a bit of turquoise fabric, from the dress band, for the grommet area, and I'll even make the ties from more of the black skirt fabric.

Reuse the knit bias tape by basting it in place first. Then topstitch it on with the machine.
Lastly, add the bottom band on the shirt and 
we    are   done! 

My granddaughter loves it and this story ends with ... her wearing the top "happily ever after."  Oh gosh, I forgot to mention the matching knit pants that I made out of a recycled pair of stretch knit pants of mine. It was pure magic!!!!
Old lady pants to hip-hop-hot body hugging pants
 perfect for a 5th grader.


Smiles,
Deborah


Friday, April 7, 2017

Embellishing Jeans With Diagonal Stitching


Now that I finished my top, it was time to embellish the coordinating recycled jeans shorts.  I noticed that the flower fabric was printed on the diagonal. That inspired me to sew a line of XXXXXXXXX in a diagonal pattern on the front of the shorts. Then I could here-and- there repeat the flowers inside the diagonal squares.
First, I sewed the diagonals on one side of the shorts front.

Next, I carried that pattern over to the right side, 
so your eye would see a continuing pattern.
Iron on the flower patches...yikes...I love it!!!!!
I would totally buy these shorts if I saw them in a store.
On the back of the shorts, I outlined each of the 2 pockets in the same red XXXXXXX. I so seldom use the fancy stitches that are on my sewing machine. These XXXX were fun to use, and still grown-up enough for a pre-teen girl.  

Smiles,
Deborah

Sunday, March 19, 2017

Repurposed Jean Skirt with Ruffle

I've made many jean top skirts like this one. I donated them to girls in foster care through the  CASA program and as part of the "Skirting The Issue Sew Along" with Project Run and Play.  When my granddaughter saw it, she wondered if this skirt was for "a girl that we don't know, or will never meet,...but needs our help."  
"No,  answered her grandmother. It's for you."

Does the fabric look familar? 
Yeap, it's part of my 2017 Bohemian Collection.   


I did buy her a jean jacket to go along with her recycled skirt. Sometimes, with a great sale, it's just cheaper to buy than sew.

If you want to make this skirt, here are some links to the different blog posts that show you, with written instructions and photos, how to make the skirt.

Creating the jean pants yoke for the skirt

Making the Flowers 

Using a Printable Step-by- Step Chart to Calculate How to Cut Out Your Ruffles and Connecting Pieces, Regardless of the Size of Skirt (You will be able to click on the provided chart to take you to my Google Drive. Then  you can print a copy of the chart for yourself.)

Sewing the Ruffles and Connecting Tiers to the Skirt Yoke
http://sewmuchtogive.blogspot.com/2015/07/sewing-ruffles-and-connecting-tiers-to.htmlhttp://sewmuchtogive.blogspot.com/2015/07/sewing-ruffles-and-connecting-tiers-to.html

 Sewing the Flowers to the Skirt
 http://sewmuchtogive.blogspot.com/2015/07/sewing-jean-flowers-to-jean-ruffled.html

Bohemian Top

Bohemian style is meant to embody the free spirited girl who wants to express herself in her clothing 
and has the freedom to style the look as she pleases.
 Add that philosophy to sewing for a pre-teen girl and you can understand that sewing for my granddaughter has changed. 
She no longer leaves all the design of the clothing I make her to me. 
She NOW actively participates in the process.
I "harvested" the fabric from a soft, somewhat transparent, tye-dyed beach wrap to make this top.I loved the drapey quality of the fabric and how the colors just flowed from one hue to another. I knew I would have to line the blouse for modesty sake, but it was worth it.
AND my granddaughter loved it too.
First, I use the Hazel Blouse pattern from Petite Stitchery. It's part of their new Boho Collection.
I loved those sleeves, but my pre-teen did not.
 "I just want short little sleeves, like the shirt I showed you," she explained.
"But these are so beautiful and romantic," I argued.
I wanted those sleeves, so I made it that way anyway. I figured that once she put it on, that she would love them too.
My bohemian, pre-teen granddaughter's was
 committed to her design.
So in the end... I cut them off and created a small cap sleeve... but I yearned for those sleeves, and ended up creating this matching purse made with the cut off sleeve. (so I guess we both won.) I  just sewed the sleeve band together, and then created a bottom with a piece two pieces of stiff felt.


 I think together we created an unique, edgy yet feminine look.

I added a zipper in the center back since this pattern was designed for knits. That was an easy adaptation, as I just did not place the back pattern piece on the fold and added a seam allowance for the zipper when cutting out the pattern piece.  
I changed this purchased flower headband to include flowers that pulled the red-purple color fro the top.

Since my flower was just too big, I pulled the flower apart and just used the petals on the headpiece.  


Smiles,
Deborah 

Sunday, August 2, 2015

Ruffled Jean Skirt for Pre-Teen

  I created this skirt is for a pre-teen that wears a lot of the color black and likes her skirts to ride lower on her hips.  The ruffle material is a polyester and rayon blend that feels so soft.

This skirt is for the Skirting the Issue project in which bloggers across America are sewing and donating skirts to girls that are part of the foster care program.

As I've been sewing skirts for young girls in the foster care program, my hope is that they will realized that someone is thinking of them and hoping that they will become part of a protective family that will care about them.
Smiles,
Deborah

Saturday, August 1, 2015

One Ruffle Repurposed Jean Skirt

Here's another one of my ruffle jean skirts, with only one ruffle,
  that I created to donate to
 girls in the foster care program.    
It is for a little girl that wears a size Toddler 2. 


My inspiration was this darling Eric Carle print fabric inspired by the book, "Polar Bear, Polar Bear, What Do You See"
Polar Bear Dots Fabric

I cut a horizontal strip to create a boarder print ruffle for the jeans skirt. In fact, I cut 2 matching strips to make the full gathered strip added to the jean yoke. 


 If you want to make this skirt, here are some links to the different blog posts that show you, with written instructions and photos, how to make the skirt.

Creating the jean pants yoke for the skirt

Making the Flowers 

Using a Printable Step-by- Step Chart to Calculate How to Cut Out Your Ruffles and Connecting Pieces, Regardless of the Size of Skirt (You will be able to click on the provided chart to take you to my Google Drive. Then  you can print a copy of the chart for yourself.)

Sewing the Ruffles and Connecting Tiers to the Skirt Yoke
http://sewmuchtogive.blogspot.com/2015/07/sewing-ruffles-and-connecting-tiers-to.htmlhttp://sewmuchtogive.blogspot.com/2015/07/sewing-ruffles-and-connecting-tiers-to.html

 Sewing the Flowers to the Skirt
 http://sewmuchtogive.blogspot.com/2015/07/sewing-jean-flowers-to-jean-ruffled.html


Smiles,
Deborah

Sunday, July 12, 2015

Sewing the Ruffles and Connecting Tiers to the Skirt Yoke


#1 Start by stitching the ends of each ruffle strip together to make one continuous circle of fabric. Finish the lower edge of each ruffle with a narrow hem –  turning the edge under ¼” and then another ¼”  Then, machine-stitch close to the second folded edge; this will form a 1/4" wide top-stitched hem. Press.

This shows the 1/4" wide top-stitched hem on 2 of the ruffles.
 Note: When I made the ruffles from a knit fabric, I used 1/2" wide top-stitched hems. This added weight kept the fabric from rolling.

#2  Sew the 2 pieces for each tier together at the side seams. Press open seams.

#3  Using a long machine stitch, sew a row of gathering stitches 1/2" from the upper edge on each ruffle. Gently draw up the gathers on the top ruffle, distributing the fullness evenly, so that the gathered edge measures the width of the lower edge of the jean top yoke. With right sides together and the side seam of the ruffle matching one of the side seams on the jean yoke, pin the lower edge of the yoke to the upper edge of the first gathered ruffle. Sew it with the gathered side up using a 1/2 inch seam.
See the different parts. Top black and white  Ruffle 1, then the Connecting Tier 1 section in the same fabric again. Next, the red Wimpy Kid Ruffle with black and white Connecting Tier 2.  Lastly, the black and white Wimpy Kid print which is the final Ruffle .
 #4  Adding the first tier.  Place the smaller width edge of Tier 1 over the ruffle seam you just sewed, matching  the side seams of the tier to the jean yoke.  Pin, and then sew with 1/2 " seam from the yoke side, so you see the previous stitching to allow you to stitch in the exact same place again.  This will encase the ruffle between the jean yoke and Tier 1.  Some seamstresses will suggest sewing  all 3 layers together at one time, but then you can't see your ruffles as you sew, so I do it in 2 steps. I want my gathers to be vertical and not pulled to the side.


#5  Gather Ruffle 2  and sew it to the bottom of  Connecting Tier 1.

#6  Sew Connecting Tier 2 to the bottom of Connecting Tier 1 and on top of the Ruffle 2.

#7  Gather Ruffle 3 and sew it to the bottom of Tier 2.
CONFESSION... I did so much gathering while sewing these 9 skirts that I decided to buy the Ruffler Attachment for my sewing machine. These are how the gathers look....pretty neat right.
 I RATIONALIZED the $60 purchase since I was "improving my sewing skills and trying new techniques..."


#8    Finish the seam allowances with either zig-zag stitches or serge them.
inside of skirt
Now you are ready to sew the flowers to the outside of the skirt along the lower yoke seam of the jean top.


Click Here to go back to the main blog post about sewing a Ruffled Jean Skirt.
Smiles,
Deborah


Tuesday, July 7, 2015

Recycled Ruffled Jean Skirt: Making the Flowers

This simple jean flower just makes my
recycled jean skirt come alive!

Using the leg portions of your jeans, trace simple 5 petal flowers and cut them out.
  To make them curl and distress the edge of the flower,
 launder them in the washing machine and dryer.  
This is what they look like when you take them out of the dryer.  Beware, for some reason these little flowers seem to disappear in my washer and dryer just like that elusive missing sock.  They turn up eventually, but I suggest cutting out 2 more than you need.

The size of the flower depends on the size of the skirt you are making. In each quarter of the skirt, I wanted 3 flowers to fill that space.
Notice in the above three photos how I decorated the flowers: mini-buttons, and french knots. Also while sewing the flowers to the skirt, part of the flower floats on top of the ruffle, and most of the flower is placed on the skirt yoke.  Some of the sewn lines are straight, and some of them are curved. I used "jeans thread", which is heavier top-stitching thread on most of my flowers, but the hedgehog skirt has white stitching to match the stitching on the original skirt.
This skirt has no center decoration and I did not launder the floweres...just pulled the edges of the flowers a bit so they frayed.


Hint:  If you decide to use french knots, embroider the flower before sewing it on the skirt.  I tried to just sew on the flowers and then add the french knots and ended up having to pull my needle through the fabric with
needle nose pliers.


Lastly, while the skirt with no flowers is cute, just compare it with the addition of just one flower.  How did I make that flower?  It decorated the legs of the original jeans, but this would be a great opportunity to use your embroidery machine to create some beautiful flowers.  Embroider them on the fabric from the legs of the jeans, and just cut them out and sew them on the skirt.  

Click HERE to back to the main blog post on sewing a Ruffled Jean Skirt.
Smiles,
Deborah
Related Posts Plugin for WordPress, Blogger...