The 9th Season of Project Run and Play has begun! I love this internet sewing contest and am planning on sewing along with all 4 challenges.
The first challenge is called, "Put Me in the Zoo" Challenge. The contestants are to take inspiration from their favorite (or their child's favorite animal) and design and construct an outfit.

Can you guess Miss E's favorite zoo animal?
|
 |
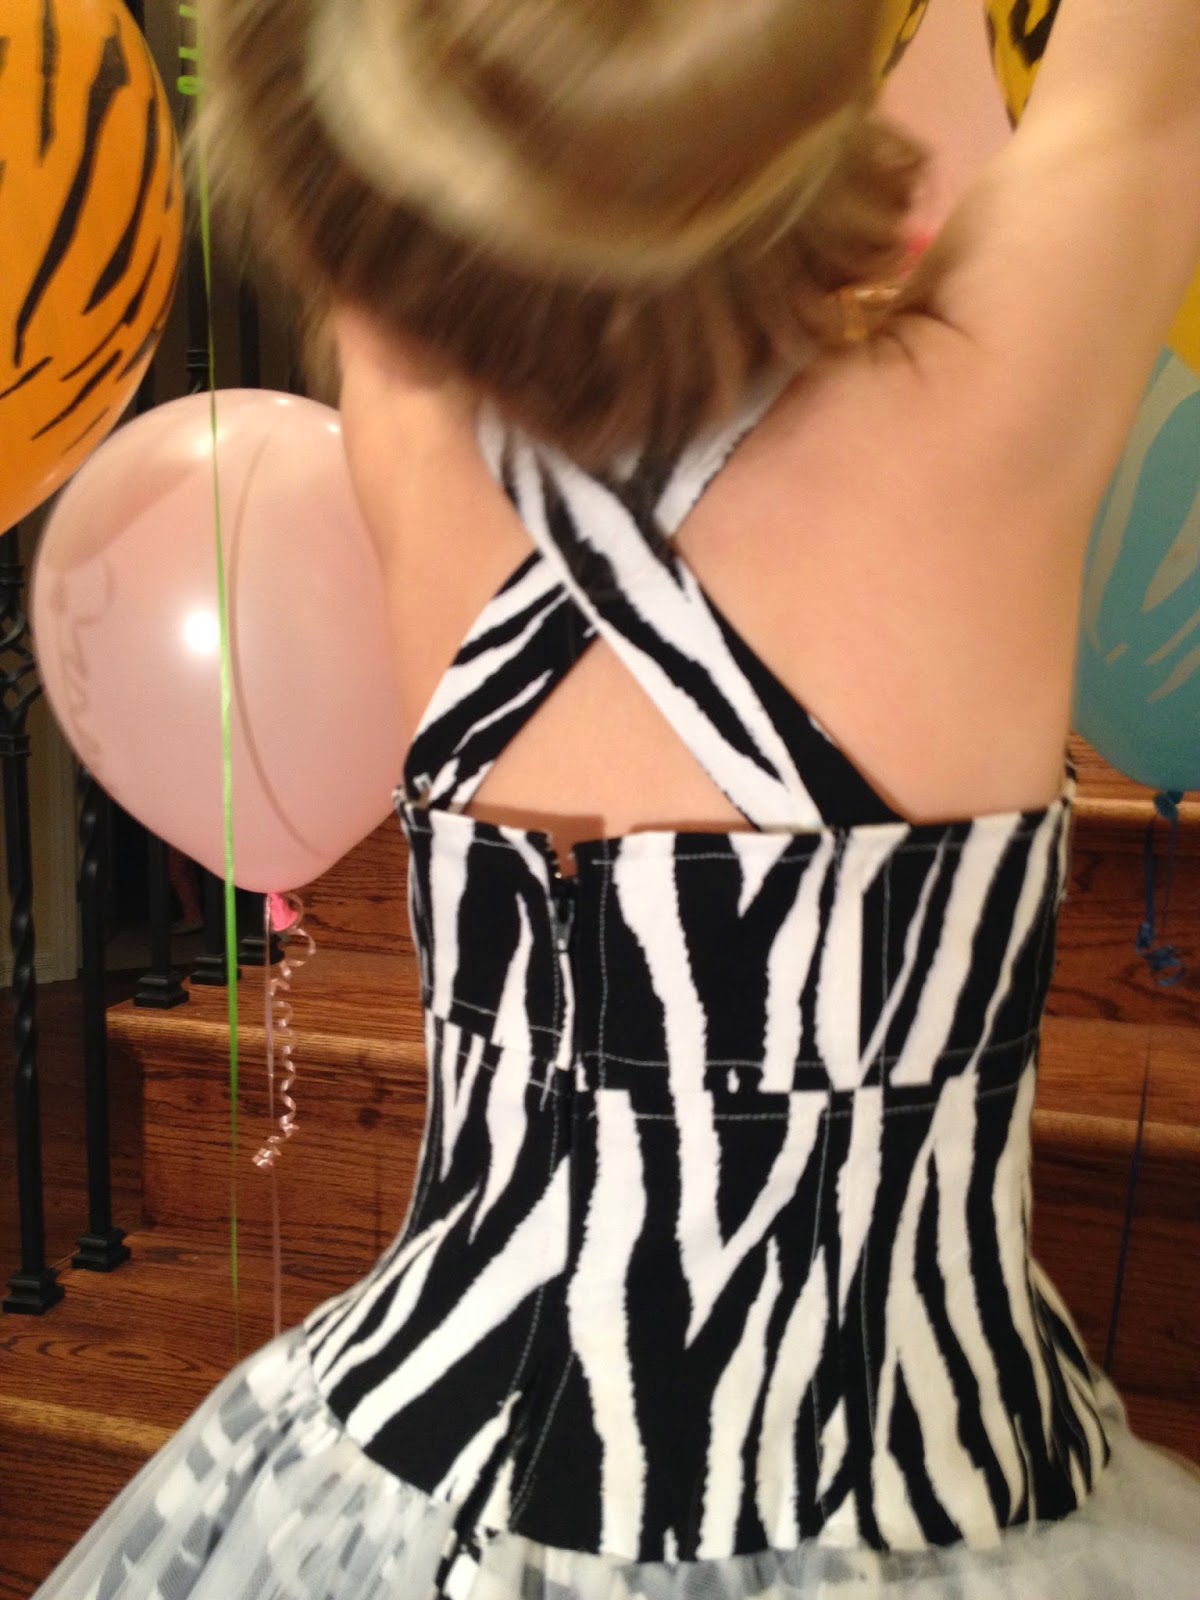
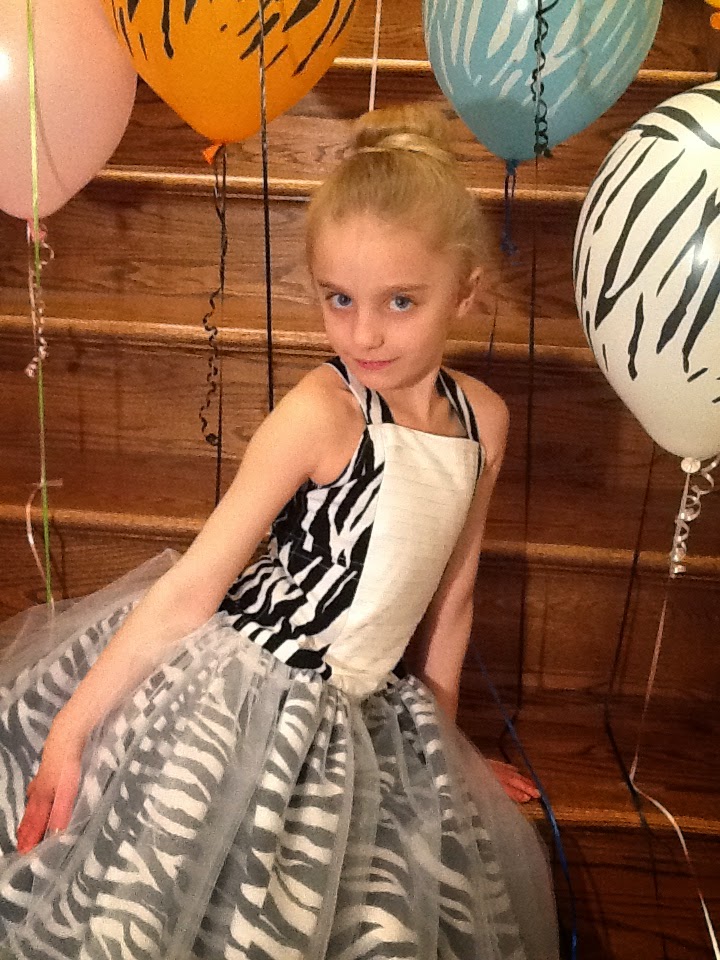
| Marty the Zebra from Madagascar 3 singing "Circus Afro" Drawing source: andrewjonesdraws.com Therefore my creative design is called: WILD Zebra Rockin' Ballet Dress  I used Butterick Pattern B5845 for the upper bodice on this dress. One of the design features that I loved on this pattern are the 14 pieces that make up the front and back of the bodice top.   Other than fit alterations, I did make one change in the bodice. That was to combine the 2 pieces of the center front and fill that space with a tucked fabric panel.     
When I lined the inside of the bodice, I combined the upper and lower pieces by over lapping the 5/8 inch seam allowances and then cutting out the combined piece.

So the lining looked like this before I attached it to the dress:
 
See, that created only 7 pieces for the lining instead of 14.
Instead of a gathered petticoat under the dress, I added 4 layers of netting over the cotton poplin zebra fabric.
I edged the netting hem edges with 2 different types and widths of ribbon so you could visually tell there were multiple layers.
 I increased the width of the skirt on the dress to 2 1/2 times the bodice bottom edge, as I wanted the ruffled skirt to be very full. With the four layers of netting and the increased width of cotton poplin to gather, this made it harder to work with, so you have to be willing to give it a go! 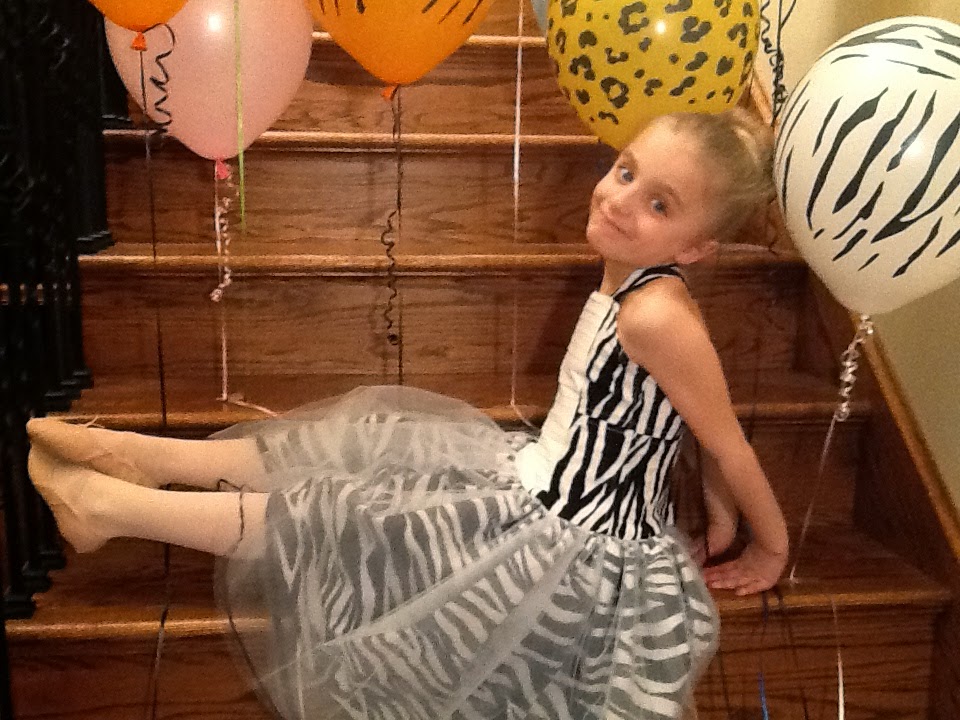 
Notice that the bodice extends below the natural waistline.
 If you want to view a tutorial or learn more details about how I created this dress, click on the words below to go to previous posts that I wrote while sewing this dress: How I created the tucked panel How I added ribbon to the edges of the netting 
"I'm a wild zebra!"

" But don't put me in the zoo...okay?"
Smiles,
Deborah
|