Pages

Showing posts with label sewing tip. Show all posts

Monday, October 24, 2016

40 Minute Polartec Skirt

Tonight I sewed a skirt in 40 minutes!!! 

Hurrah Polartec Fleece!

Using Mc Calls pattern 6918, View B
1. (5 minutes) Cut out 4 pieces: Front /Back Yoke, and Front/Back Flare Skirt Bottom.
2. ( 10 minutes)  Sew yoke and flare skirt bottom together. Then trim away most of the seam allowances on the seam closest to the yoke, Fingerpress the remaining up towards the yoke.  Then from the top, topstitch so the seam allowance encloses the trimmed seam allowance.
Trim close to the stitching.
Right side, finished seam with topstitching

3. (10 minutes)  Sew the side seams together. Next fingerpress the seam allowance open. From the right side, topstitch each seam allowance down, using the stitched seam as a guide to sew a nice straight topstitched line. Trim excess close to stitching and you' ll have a unbulky seam that will feel good against your body.

4.  Sew edges of elastic together.
5. (12 minutes)  Stitch a row of stitching around the top of the skirt 3/8 " from the edge. Divide both the elastic and skirt top edge into 4 equal sections.
6. Using a stretch stitch and the row of stitching as a guide, slightly stretch the elastic until the section of elastic is the same size as the skirt. Stitch near the bottom of the wide elastic onto the flat edge of the skirt.

7. (3 minutes) Trim any excess fabric away, so it will feel good next to your body.
 DONE!!!         Love It !
Smiles,
Deborah

Friday, April 17, 2015

Sewing Lessons with Miss E and Me: Turning Corners


 When my Grandma explained "pivoting" to me, I just didn't get it.  But, when she explained a "ballerina twirl," I understood exactly what she meant.  
 In sewing, it is important to place your needle down 
into the fabric exactly on the corner so when you turn
 or "ballerina twirl," the edge of your fabric will then be lined up to sew again using the same seam allowance. 


In the past, Grandma helped me to sew straight seams and to know where to stop sewing when turning a corner by marking the seam  allowances with a water-soluble blue marking pen on the fabric.  She said that I need to train my eye to recognize different amounts 
like 1/4, 3/8, 4/8 or 1/2, and 5/8.  
So by marking the seam allowance, she was helping me to learn how far away from the edge of the fabric 5/8 of an inch looks like.  

Another way she sometimes helps me is to place a dot with the blue pen, exactly where I should stop and ballerina twirl.

We've been doing some more practice by sewing, with NO thread, on paper.  I pretend that the paper is the fabric and Grandma tells me how big the seam allowance needs to be.  It's really a kind of fun game to play together. She checks me with this little ruler she has, and I get one point if I'm right. If I'm not right...Grandma gets one point. 
 First person to ten points is the winner. 
Learning new things take practice.


It takes practice to sew straight seams and turn corners at just the right spot, but once you get it.... then you feel so much more confident about sewing. 


 So if you worry that 
your seams aren't straight enough or that your corners aren't quite right, mark your seam allowance like my grandma does or practice on paper.
Smiles,

Miss E and Me


Saturday, June 7, 2014

Built-in Bookcase, Part 7...Windowseat Cushion


 The next step is to make a cushion for the windowseat. So I began by making a pattern.

I used this one inch graph paper that I had.  If you don't have this kind of paper, any paper is fine...shelf paper, wrapping paper, and even taped together newspaper.
I placed my paper on the windowseat and lined up the front edge. I taped it into place with blue painter's tape, as I didn't want to pull off any paint from the seat.  Then I used my fingernail to crease the paper at the back edges.

 I left one half inch around the pattern, so this pattern can be used for both  the foam and my fabric.

 Now it's time to use the pattern to cut out the foam. I again lined up the front edge and stuck my pin into the foam to hold it in place. Then using a thin marker and a yardstick, I traced the pattern onto the foam.


Well, I had a little problem finding 3 inch foam that was 27 inches wide and 103 inches long, so I couldn't buy it locally unless  I pieced the foam. Therefore, I went to the Internet. I obtained my 3 inch 30 inch wide from www.OnlineFabricStore.net.  It was actually 3 X 30 X 108 High Density Upholstery Foam and I am quite happy with it.

Now, to cut the foam. I used my electric knife. This picture shows you how to hold the knife perpendicular to the foam so your cut is straight on the face of the edge.  Just think of it as using a jigsaw. I placed my cutting board under the foam, and moved it as I cut the foam so I wouldn't distress the surface under the foam. 

 So how did that turn out?
Look at this BEAUTIFUL cut!!!
 And the pattern created cut foam that fit right into the corner of this trapezoid shaped seat.

Here is the finished cut foam, that's ready to be covered with my fabric.

Smiles,
Deborah 

If you want to read more about the building of this Built-in Bookcase/Windowseat just click on the link under Labels.

Tuesday, April 8, 2014

Fabric Surface Design

Bead by bead ... by bead...by bead...by bead....my fabric design began. I used kid-friendly colored wooden beads and button/craft thread to sew them to the fabric.


Sewing back through previous beads keeps them lined up.


I sewed on this design from Minneapolis, MN to Raleigh, NC to Atlanta, GA to Chicago, IL in airports and on planes!!!
(By the way, each man that sat next to me on these planes was amazed that women actually sewed anymore as none of them could get their wives to sew on missing buttons or fix ripped seams. )

Here is the finished surface design that is part of my entry for the Project Run and Play Challenge.


This dress/top was made using the Georgia Twirl from Shwin Designs, with one design addition from me. I added a button-on strip at the waistline seam.

I made the buttonhole strip myself using a strip of bias fabric and my sewing machine.


This design element is the  "secret magic"  so you can change the top into a dress by buttoning on another curved skirt layer.


This shows the inside of the lined now "dress".

 
I also closed the seam under the arm with this triangular design.


Two different fun fabrics were used to create the shorts to coordinate with the top.


Notice the top yoke and ruffle on each of the shorts. On the cats shorts, I applied the elastic in the "paper bag" fashion. In the turquoise shorts, I just made a 1 1/4 inch casing and inserted a 1 " piece of elastic.

Miss E told me that she likes how the skirt twirls... and that's why I overlapped the third layer and sewed that layer shut.....we don't want any flasher episodes happening !


Thursday, March 20, 2014

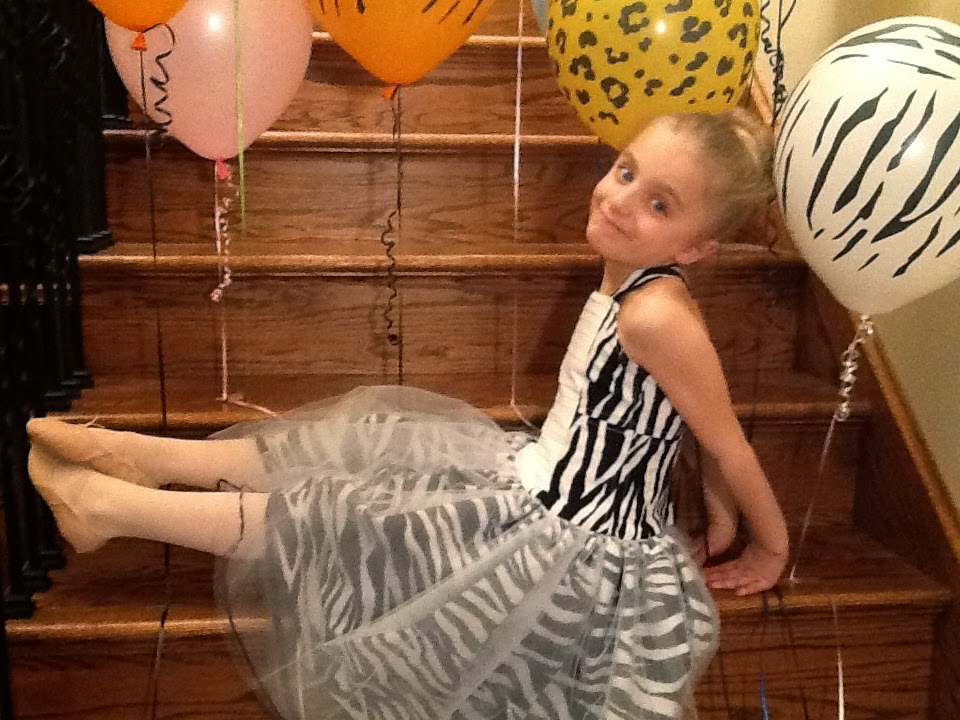
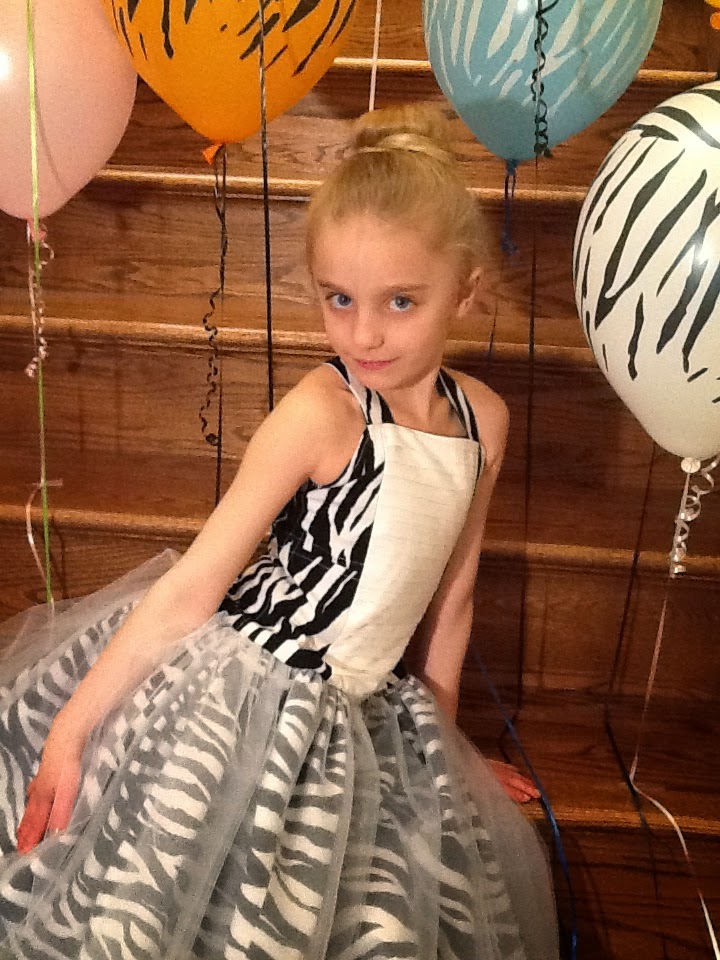
WILD ZEBRA Rockin' Ballet Dress


The 9th Season of Project Run and Play has begun!  I love this internet sewing contest and am planning on sewing along with all 4 challenges.
 
The first challenge is called, "Put Me in the Zoo" Challenge.  The contestants are to take inspiration from their favorite (or their child's favorite animal) and design and construct an outfit.


Can you guess Miss E's favorite zoo animal?
 

Marty the Zebra from Madagascar 3 singing "Circus Afro"
Drawing source: andrewjonesdraws.com


Therefore my creative design is called:
WILD Zebra Rockin' Ballet Dress

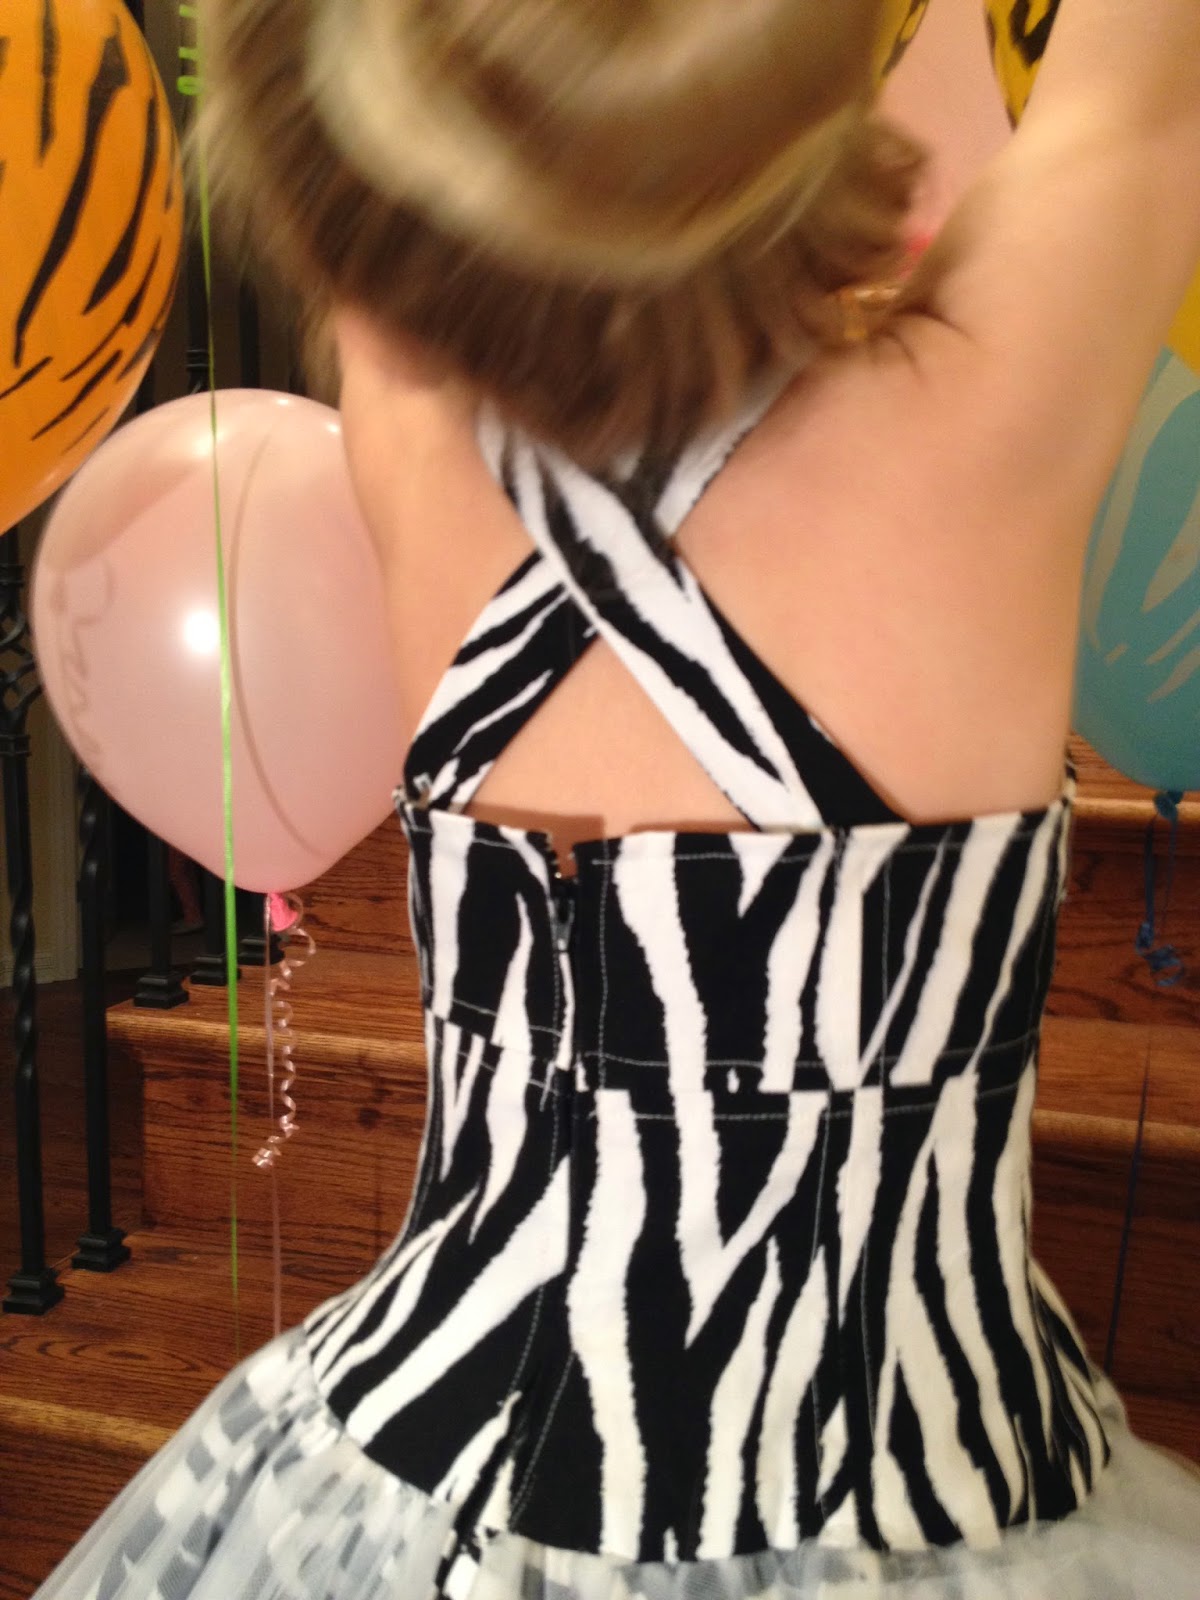
I used Butterick Pattern B5845 for the upper bodice on this dress.

One of the design features that I loved on this pattern are the 14 pieces that make up the front and back of the bodice top. 


 Other than fit alterations, I did make one change in the bodice. That was to combine the 2 pieces of the center front and fill that space with a tucked fabric panel.


When I lined the inside of the bodice, I combined the upper and lower pieces  by over lapping the 5/8 inch seam allowances and then cutting out the combined piece.
So the lining looked like this before I attached it to the dress:


See, that created only 7 pieces for the lining instead of 14. 
 
 
Instead of a gathered petticoat under the dress, I added 4 layers of netting over the cotton poplin zebra fabric. 
 I edged the netting hem edges with 2 different types and widths of ribbon so you could visually tell there were multiple layers.

 
I increased the width of the skirt on the dress to 2 1/2  times the bodice bottom edge, as I wanted the ruffled skirt to be very full. With the four layers of netting and the increased width of cotton poplin to gather, this made it harder to work with, so you have to be willing to give it a go!


 Notice that the bodice extends below the natural waistline.


If you want to view a tutorial or learn more details about how I created this dress, click on the words below to go to previous posts that I wrote while sewing this dress:

How I created the tucked panel
How I  added ribbon to the edges of the netting 

"I'm a wild zebra!" 
 
 
" But don't put me in the zoo...okay?"
 
Smiles,
Deborah


Related Posts Plugin for WordPress, Blogger...