When we bought this house the listing sheet described this space as a "generous walk-in closet."
All I could see was...
Sewing Room with Natural Light!
For years this room had a mishmash of furniture, of various sizes and colors. that I tried to use to store all my sewing and jewelry making supplies, and provide a space for me to create.
Finally, I decided
that I needed a remodel based on a
PLAN!
1. Color Scheme
Regardless of what furniture that I used, I wanted to keep the basic furniture a CALMING white or black. My thought is when I add my sewing supplies... they would provide the color boost, but don't overwhelm this small space. Also, my room has slanting walls and I wanted the walls and ceiling to blend together, so I painted everything white.
2. Great Storage Furniture
My husband had these metal bookcases and lateral files at his office and was willing to share them with me, but they were an ugly golden brown. I took them to an auto body shop and had them spray painted white. Yes, I could have spray painted them myself, but I wanted a very durable auto paint finish that was baked onto the surface, and that lateral file with all the slide out drawers was a beast!
I did paint the large laminated bookcase white, with a special paint made for covering laminated surfaces. I even spray painted my plastic storage container lids, with a white paint made for plastic.
3. Multi-functional Use of Wall and Floor Space
I bought a bathroom 3 drawer cabinet to support one end of my recycled laminate counter top and a bathroom vanity bottom with one drawer for the other end. I found them at the Seigle Outlet in Elgin, Illinois.The Outlet Center offers product in brand new factory condition that was
mis-ordered and cannot be returned to their vendors. It also offers some
product with minor damage that remain suitable for use. Another great place to look is the Habitat for Humanity ReStore Stores. I love the LONG space this countertop provides that can house both my sewing machine and serger. Someday I would love to have a coverstitch machine too. (But that's another story...)
When I sew, I sit on a stool or stand next to the sewing machine, therefore my countertop is at a higher height. Now, I never get that "hunched over neck strain."
4. Storage Within Storage
 |
| I added a clock because I would be sewing away and my husband would come in and ask when I was coming to bed since it was 1 o'clock in the morning. Time flies when you are having fun. |
If you look at the organization in my storage unit, you will notice that I folded all of my smaller scraps and place them according to color in plastic shoeboxes. It is so much easier to glance over the fabrics in each color tone than to search through a bin. Folding my scraps also make me throw away really small scraps instead of saving them in a bin too.
I bought these pretty metal letter holder boxes and hung them on wall space near my cutting table. This helps me store project pieces together that I am currently working on.
"Keeping everything together" is one of those things
I have had difficulty with in the past.
I bought a small file cabinet to house all my patterns. I filed them by pattern company and number.
WHY.... because I could never find the pattern envelope for that stray pattern piece that magically appears...kind of like the one sock in the dryer.
This storage container houses all those notions that you use. I labeled the drawers and
WOW
that makes a difference!
Girls and ribbons just go hand in hand, so here is how I store them now.
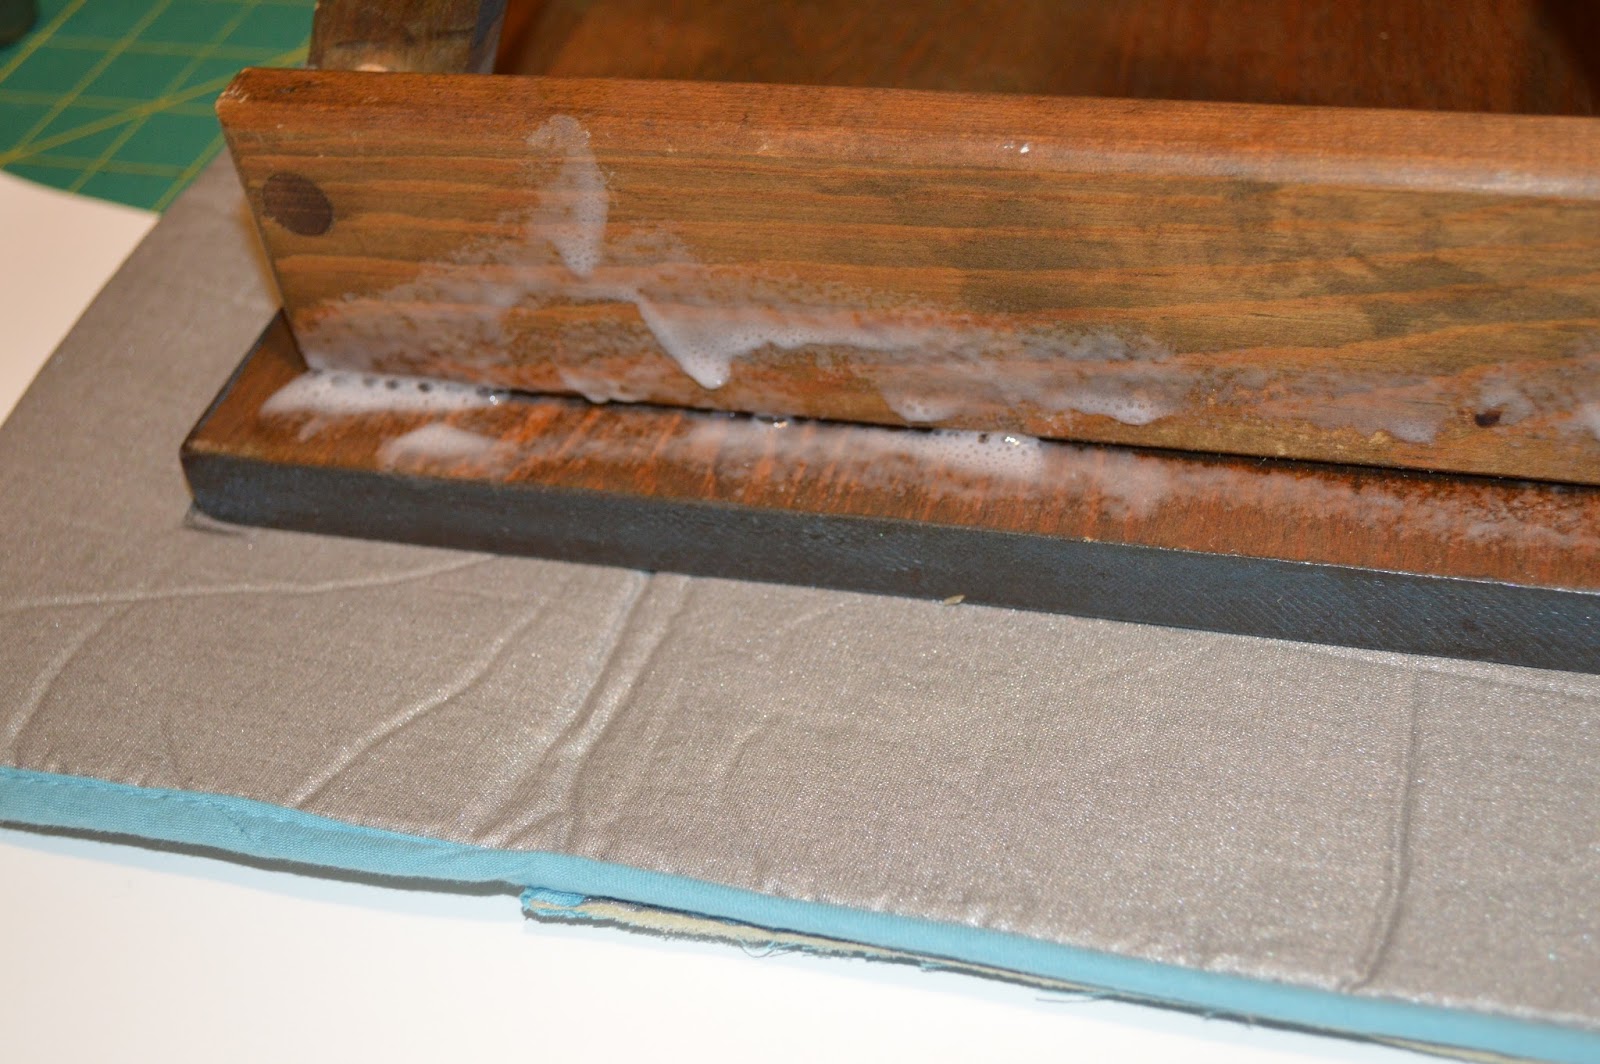
Lastly, is my little ironing table that my husband helped me make. I do have a large ironing board too, but I LOVE this one.
So I hope you enjoyed seeing my sewing room.
When I added the large screen TV and CD player, my husband commented, "We may never see her again..."
Smiles,
Deborah


 and I bought a portable ironing mat.


