Shiny, fancy, sturdy, elegant and striking,
are just a few characteristics that makes each button unique!
It was fun, sorting through the button jars at the fabric store
to find just the perfect combination.
See how beautifully each button compliments the colors in the knit fabric.
Yet... each button demands attention on their own.
I used the buttons to highlight the curved seam on this top.

Next,
I added some ruffles and lace.
I loved working with the soft colors in this print,
"Happily Ever After" by Art Gallery fabric.
This fabric is a single knit and had one characteristic that I didn't enjoy.... the fabric rolls.
How did I solve this problem?
I needed to turn the edge of the ruffles twice and top stitch the edge to add some weight to the ruffle so it won't "roll" after I wash the completed top. In addition, the other side of the ruffle needed to be gathered...Yikes!
So to get the fabric to lay flat, I used spray starch.
Spray Starch to the RESCUE!!!
See how well using the spray starch helped me to be able to sew each side of the ruffle.
Notice Her Matching Boho Boots

 First, I started with a pair of children's boots that I bought at a resale shop for $3.99.
Next, I spent some time cleaning them up with boot polish and a black permanent marker.
To create the "Boho Look," the boot top is turned down. In the above picture you can see the boot before and after the turn down.
 In order to get your foot into the turned down boot, you must cut open a back seam. I also trim more of the inside of the boot, than the outside of the boot with this cut. I bought the scissors to cut this leather at Hobby Lobby in the leather department.
How much is enough? Just try on the boot until you can comfortably slip on the boot.
Next, get ready to decorate!!!
I am always on the look for belts with a Southwestern look when I go to resale shops. Using this beautiful silver and black belt I first measured and cut off the buckle end.

From the backside of the belt, mark a curved end in the cut-off belt. Cut, and with a black permanent marker "dye" the cut edge. Then, using a leather hole punch tool, punch new holes in the leather so the buckle can function properly.

Using Barge All Purpose Cement Glue, I glued the belt end to the belt. My Granddaughter was so excited that she was kicking up her heels and I realized that I needed to add glue to hold everything in place, if possible. (Believe me, I am terrible using glue and only did this because it was necessary. I temporarily glued two of my fingers together in the process....)
 Now, to decorate the other boot. Using the cut off length of the belt, punch holes in the leather to form a circle that will fit over the boot.
Use these screw post through the holes to secure the belt.
 Add other jewelry like chains, boot bracelets, feathers, fabric, or medallions made to decorate leather. When using a fabric band, I like to add fabric that is colorful and usually Southwestern in flavor. But on these boots, I made a band that matched the shirt that I just sewed for my granddaughter.
Here is an example of another of the boho boot that I made myself. Sew how wonderful the bright Southwestern fabric adds to the overall design. Notice that I used 2 belts on this shoe as it is larger and can visually handle 2 belts.
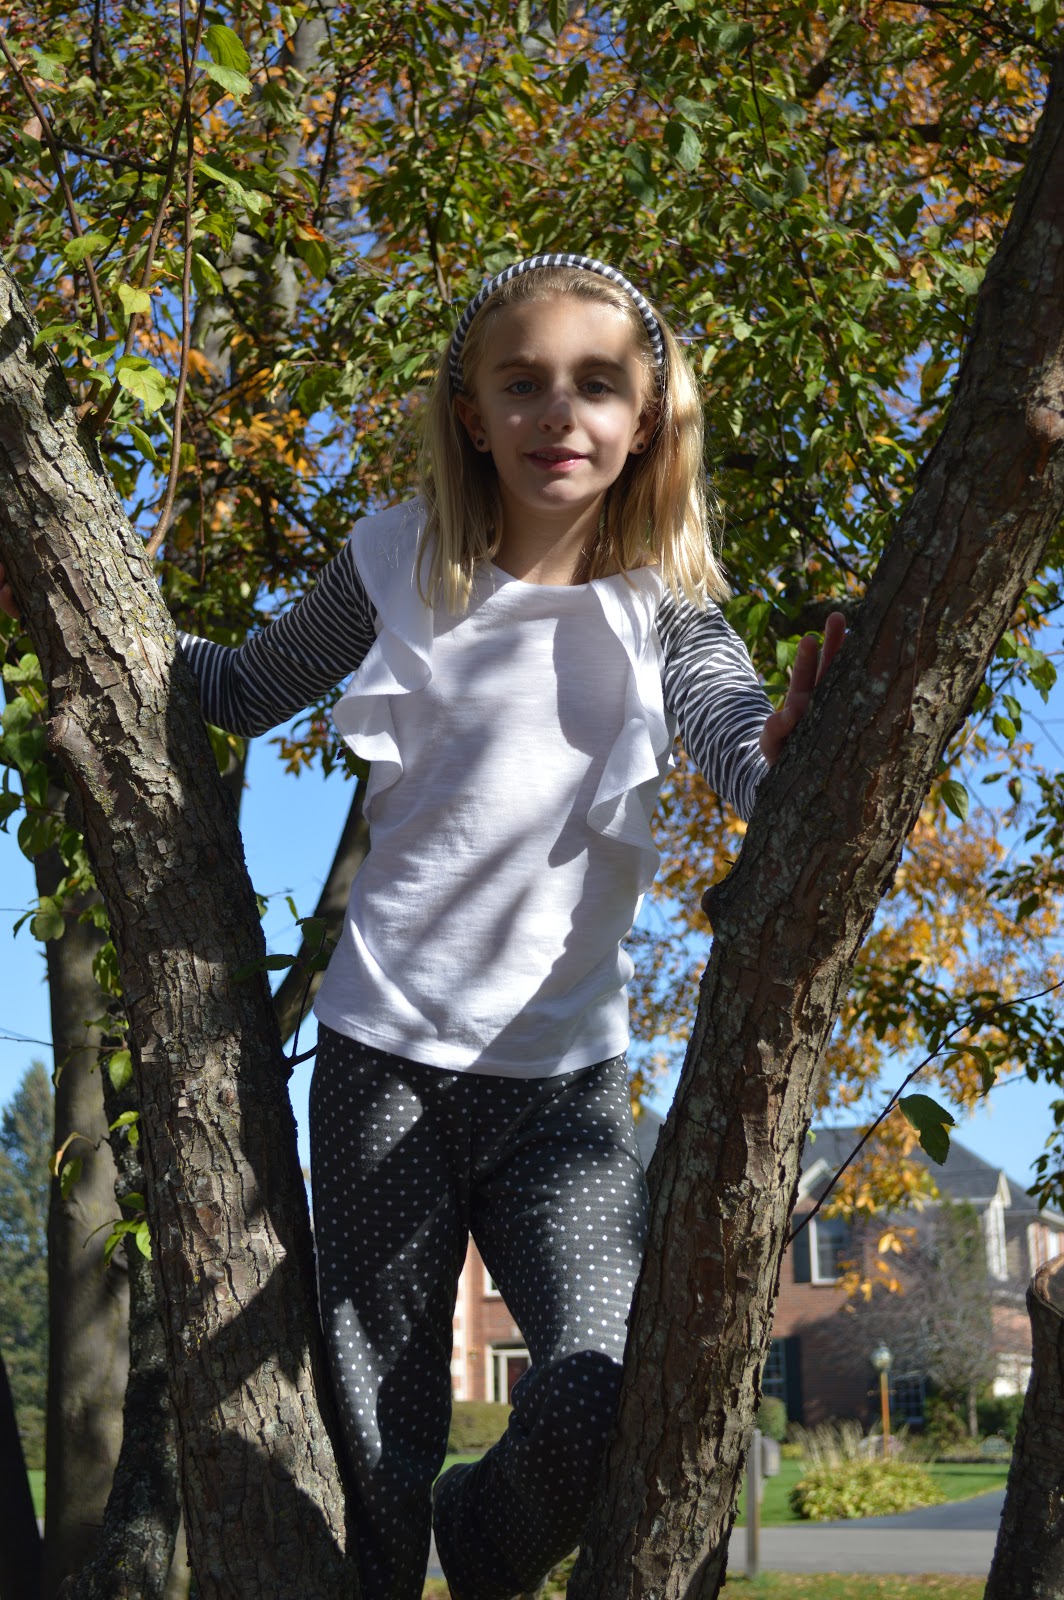
My Granddaughter really likes this outfit and plans to wear it to school tomorrow....SUCCESS!