Pages

Monday, April 27, 2015

Babies on an Airplane Sitting Next to YOU!

We've all heard horror stories about sitting next to a
 crying, restless, young child on a plane...

but I wanted to share this delightful story about my recent experience.
Directly across the row from me were the empty seats that I just knew would be filled with the
 young mother and baby that I had noticed in the airport waiting area.
Sure enough, they were my seatmates. 

After they were seated, the mother began handing out small baggies
to passengers seated near her and the baby.
 The baggie contained this note:

Hello fellow passenger! My name is Caden and
 I'm 11 months old! This is my first flight and I'm
very excited! Thank you for being brave enough to
to sit by me. I will try to be on my very best 
behavior but in case I get a little loud my Mom
included some ear plugs! She also wanted you 
to have a few treats. I hope you like them and 
have an enjoyable flight!

Inside the baggie was the note, candy, and soft ear plugs.
That was one smart Mama!!!

Smiles,
Deborah


Sunday, April 26, 2015

Adult Graduation Party


I've been helping my sister plan an 
Adult Graduation Party.

The theme of the party is based on this poem:

“There is freedom waiting for you,
On the breezes of the sky,
And you ask "What if I fall?"
Oh but my darling,
What if you fly?”
Erin Hanson

The main centerpiece of the food/drink area is a set of angel wings with a
copy of the poem (shown to the left) in the middle between the two wings. We used a book that had pages edged in gold, and that made a difference.  About 500 pages were used in making the wings.


Here are some images of making the wings.


One wing completed
 Do you see the hint of gold on the edges of the paper ?
Smiles,
Deborah

P.S.  I only ended up with one blister from the hot glue on my fingers.  That's pretty good for me. 


Friday, April 24, 2015

Sewing Lessons with Miss E and Me: Making Patterns


When my grandmother makes a pattern or adapts a pattern, she used this material:

Pellon Tru Grid Tracing Material

She just adapted a sling bag pattern and I saw her use it to make her pattern.

She says she likes it because of the 1 inch printed grid on the see through non-woven fabric. The grid makes it easy to cut a pattern that is on the straight of grain and is the correct measurement.
All that talk about "straight of grain" reminded me of when we made a weaving in art class. 

When you put your fabric pieces on the fabric, you need to measure from an arrow on the pattern to the edge of the fabric so your pattern will be straight on one of the threads that are woven together to make the material. 
Threads Magazine has this article that tells you more about that with great pictures: http://www.threadsmagazine.com/item/4968/pattern-layouts

She even tries out her patterns on me before cutting them out sometimes because the see through material can be sewn or basted like real material. 

It's like trying on a really weird see through dress.... (and I won't share of picture of that with you .)

But here's another "weird picture" of me


Smiles,
Miss E and Me


Thursday, April 23, 2015

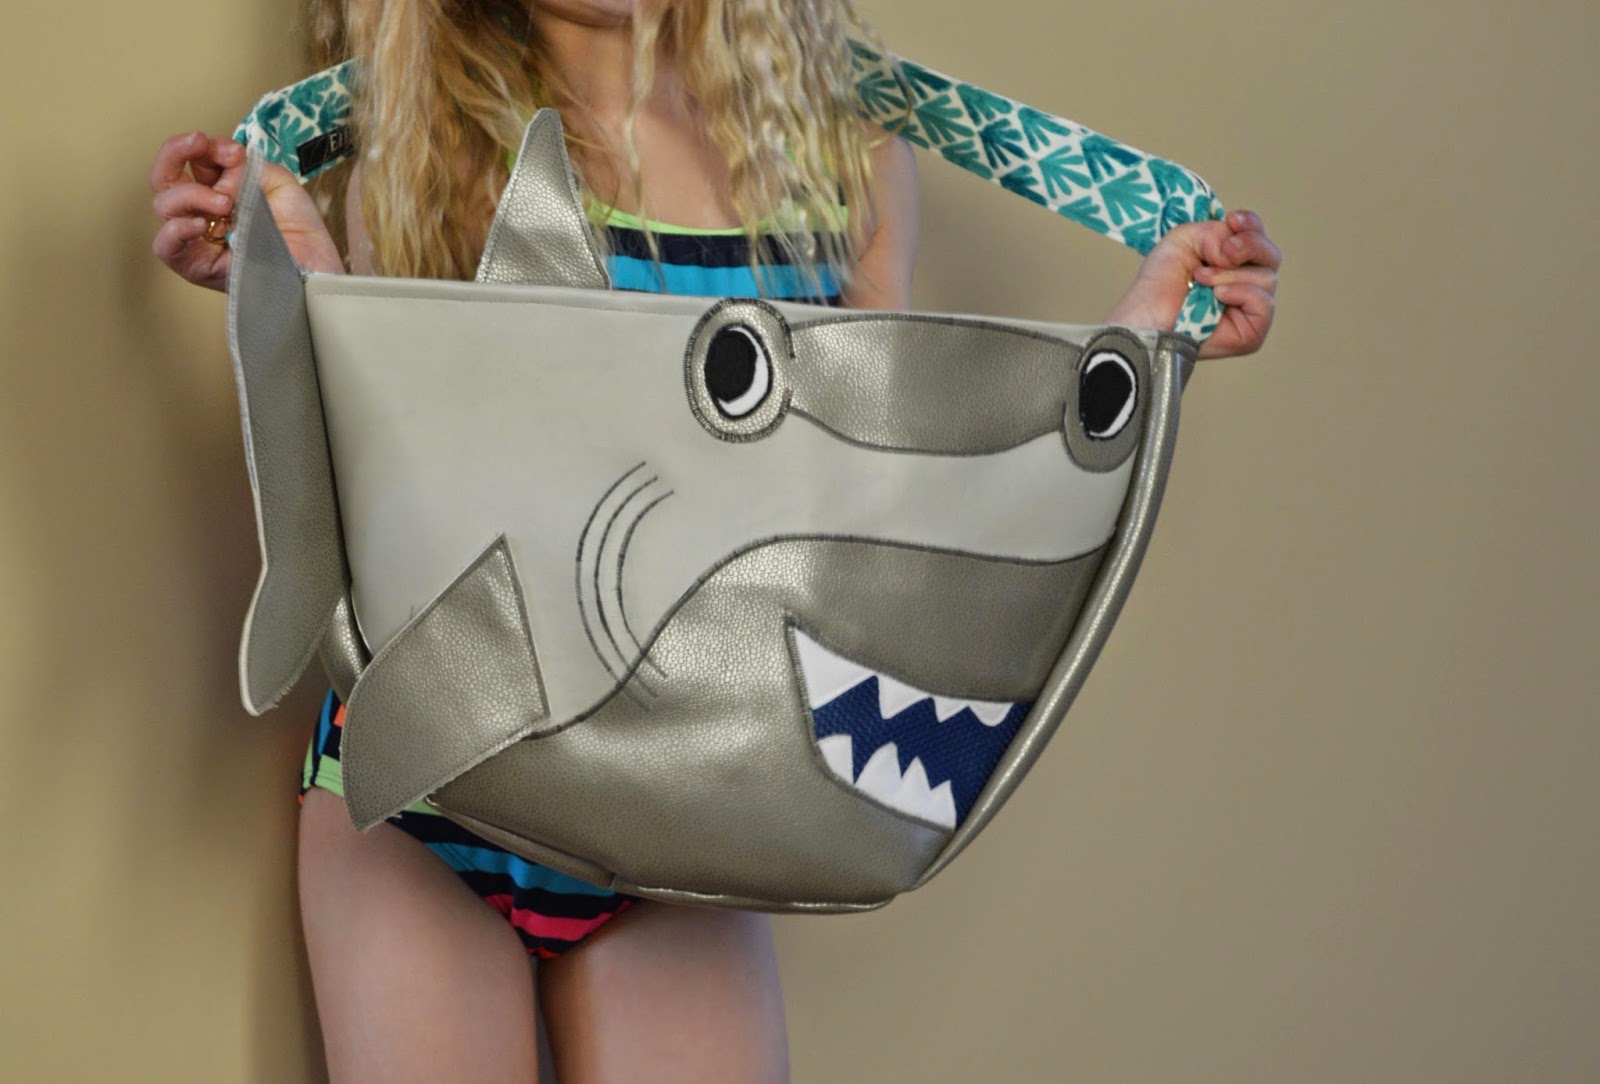
HammerHead Swim Team Sling Bag


April's Sewing Challenge at Project Run and Play 
 is to make your own version of the Reversible Sling Bag. 

Since Miss E just made the HammerHead Swim Team, I decided to make a reversible Hammerhead Shark Bag and Terry Towel Cover-up.  

The fabric used on the outer bag is Marine Vinyl.  Here you can see some of the steps used in creating the shark body.  I used reverse applique to make the mouth.


The dark grey fabric looked like a shiny shark skin, and was very pliable. 

The inner bag is made from this contemporary block print outdoor fabric that reminded me of ocean plant life. This type of fabric will work great when Miss E places her wet suit in the bag after a swim practice or meet.


I added all the important pockets to help her stay organized-
Googles
Swimcap
Medal
and Flipflops. 
I used the alphabet embroidery set that is built into my sewing machine to make the labels. I also added her name on the handle of the bag in case she misplaces the bag at a meet.
If she needs extra space in her bag, it is reversible and all these pockets can be filled on the outside of the bag, allowing more space inside the bag.

The terry towel cover-up can be thrown on quickly and worn in many different ways.  Notice the outside edge of the coverup....I embroidered the name of her team repeatedly along the edge.
Miss E gave 110 % to make the team,
 and I gave 110% to make this bag and cover-up 
to celebrate her achievement.

Smiles,
Deborah 

Friday, April 17, 2015

Sewing Lessons with Miss E and Me: Turning Corners


 When my Grandma explained "pivoting" to me, I just didn't get it.  But, when she explained a "ballerina twirl," I understood exactly what she meant.  
 In sewing, it is important to place your needle down 
into the fabric exactly on the corner so when you turn
 or "ballerina twirl," the edge of your fabric will then be lined up to sew again using the same seam allowance. 


In the past, Grandma helped me to sew straight seams and to know where to stop sewing when turning a corner by marking the seam  allowances with a water-soluble blue marking pen on the fabric.  She said that I need to train my eye to recognize different amounts 
like 1/4, 3/8, 4/8 or 1/2, and 5/8.  
So by marking the seam allowance, she was helping me to learn how far away from the edge of the fabric 5/8 of an inch looks like.  

Another way she sometimes helps me is to place a dot with the blue pen, exactly where I should stop and ballerina twirl.

We've been doing some more practice by sewing, with NO thread, on paper.  I pretend that the paper is the fabric and Grandma tells me how big the seam allowance needs to be.  It's really a kind of fun game to play together. She checks me with this little ruler she has, and I get one point if I'm right. If I'm not right...Grandma gets one point. 
 First person to ten points is the winner. 
Learning new things take practice.


It takes practice to sew straight seams and turn corners at just the right spot, but once you get it.... then you feel so much more confident about sewing. 


 So if you worry that 
your seams aren't straight enough or that your corners aren't quite right, mark your seam allowance like my grandma does or practice on paper.
Smiles,

Miss E and Me


Thursday, April 9, 2015

Sewing Lessons with Miss E and Me: Sewing Elastic Together

I'm going to make Papa a pair of work-out pants out of a cotton knit fabric. The pants will have an elastic waistband, so my grandma and I had a little lesson about sewing the ends of elastic together so they are comfortable and will stay together.

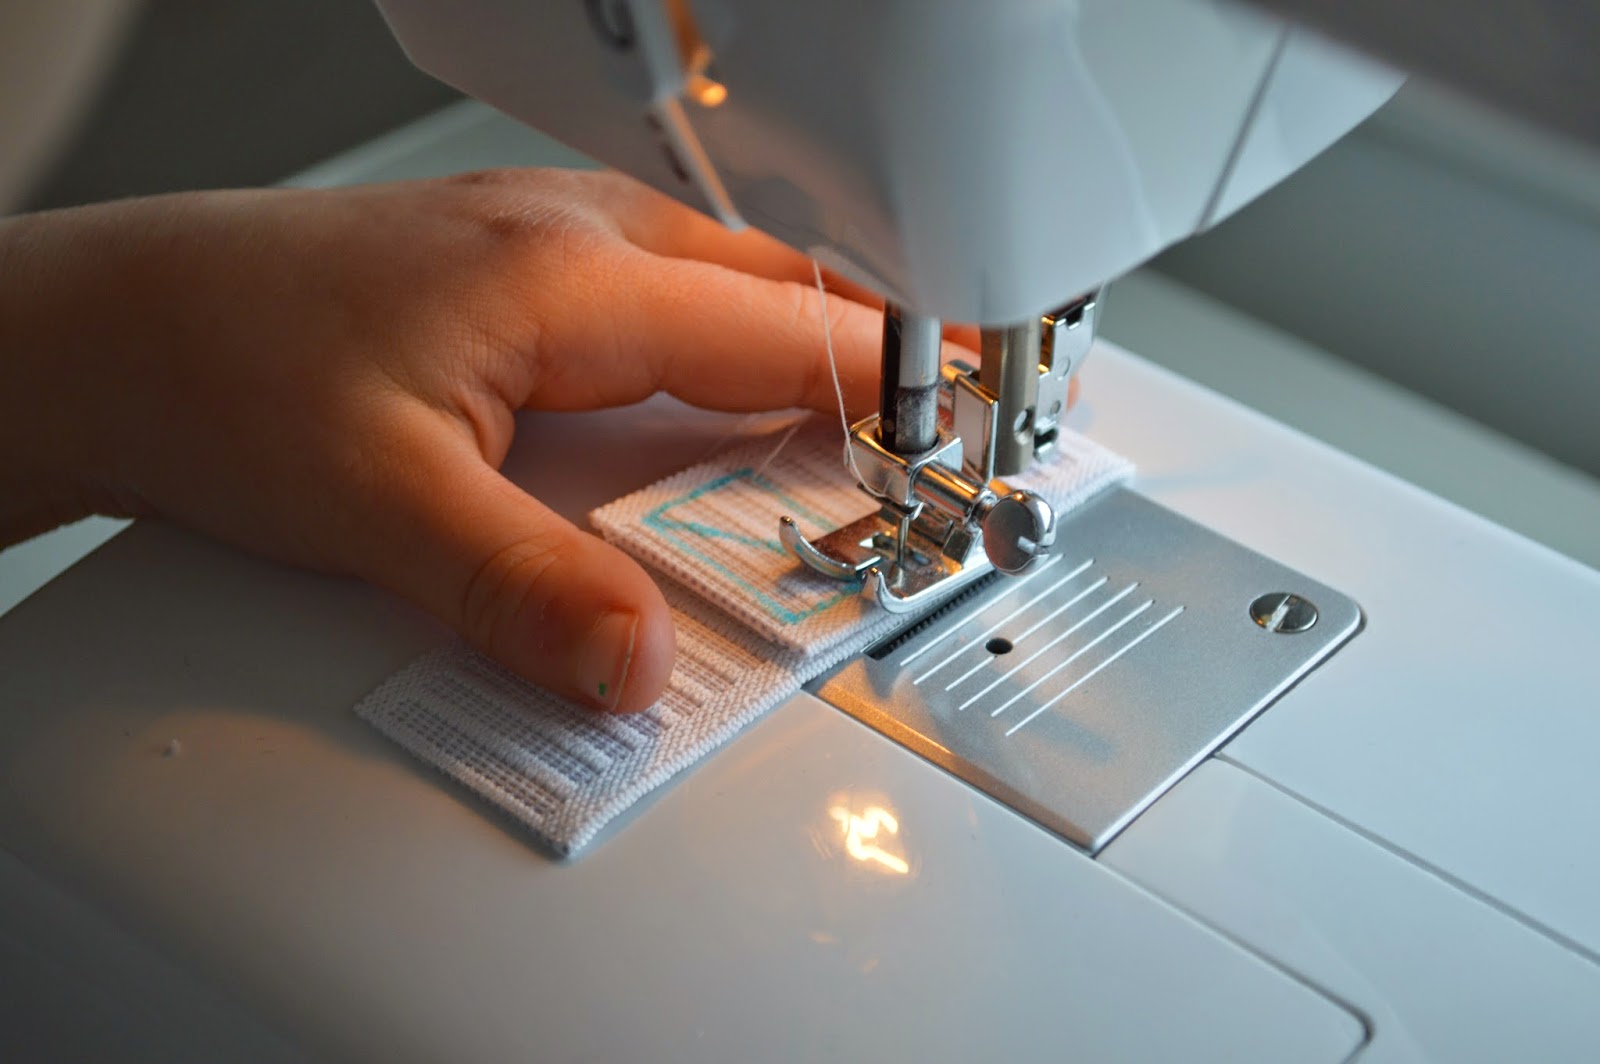
First, I sewed 2 pieces of elastic together the way I sew two pieces of fabric togther.

It seemed strong enough. But when I felt the BUMPY side against my skin,

I didn't like how it felt at all.  
Who wants a bump in the top of your pants when you wear them?
Then my grandma said this is 
NOT HOW TO sew the elastic together.  

The second examples uses a piece of lightweight fabric. The two ends of the elastic placed on top of the fabric and directly next to each other, but not overlapping. Two of the  rows of zigzag hold the elastic to the base fabric, and the center row of stitching zigzags the two pieces into one. Lastly, you trim the base fabric to the size of the elastic.
2 rows of zigzags to each side and a wider zigzag in the middle


Cutting off the extra material.

All finished, on the back
 The third example overlaps the elastic and has a box with either an X or 1 diagonal line in the box. This application will take a lot of stress and will not come apart easily. It lays flat inside the casing and has a slight thickness where it overlaps. 

"I pulled and pulled on this one and it was very strong." said Miss E.  "But you still have a bump inside your pants."


So after this experiment, which one do I want to use inside Papa's workout pants?


There are two ways that work, but...
 I like this one the BEST!
This is the one I want to use in my Papa's pants.

Next Friday, I'm going to tell you about ways that my Grandma is helping me to sew straight seams and turn corners. See you then.

Smiles,
Miss E and Grandma

Tuesday, April 7, 2015

Recycled Men Shirt Ideas

I love to repurpose men's dress shirts.

I really enjoy using the various parts of the shirts in new ways. So I thought I would post about those different ways that I've used 
specific parts of a mans shirt- starting with the collar. 

COLLAR

APPLICATION: Finish the Neck Edge.                                I decreased the width of the collar before attaching it to the front bodice neckline only. The collar ends are sewn into the shoulder seams.


APPLICATION: Decoration

 I used two shirts and the decorative triangles are made from the tips of the two shirt collars that I used in this design. Notice how I used a larger button than normal to highlight the collar points.
APPLICATION: Shoulder Strap
I cut the collar into two equal parts and then attached it both by stitching it down and sewing the buttons on through all layers.


APPLICATION: Divider between the bodice top and skirt. Notice that the waistline tie emerges from the seam near the sewn on collar stand.


Next I will show you different ways to use the cuff.... see you then.

Smiles, 
Deborah


Friday, April 3, 2015

Sewing Lessons with Miss E and Me: Prewashing Fabric

I asked my Grandma, 
"Do you have to pre-wash your fabric before sewing?"

She told me that depends on the fabric.
 If you plan on washing the garment after you make it, it's probably a good idea. Sometimes she worries that the colors will bleed during washing or the fabric will shrink and ruin the outfit. The colors she usually pre-washes are blues and reds. We want to make a top like this so we received this fabric with a lot of blue and lime green in it from a very generous lady, Susan, that we think would be great.
http://shwinandshwin.com/2014/11/rainbow-pieced-peplum-free-pattern.html


So Grandma and I thought we would do an experiment with our fabric.  We filled the sink with water and let the fabric sit for 15 minutes.
This is what we found. YIKES!
We put the water in a white cup so you could see it better.

My Grandma is making a dress for my sister right now 
out of these fabrics.
She's been hand embroidering clothing on these animals with no bodies. We talked about how icky it would look if the white fabric  was no longer white but dirty white because the black heart fabric dye bled onto the fabric when it was washed. So she decided to pre-wash the fabric.

Grandma suggests pre-washing fabric in the same way that you plan to launder the garment.  She usually doesn't pre-wash 100% polyester fabric or take wool fabric to the dry cleaners first. When she uses 100 % cotton fabric, flannel,
 and knit fabrics, she always pre-washes them.
Some times when she is in a hurry to use the fabric, she washes it in the kitchen sink, rinses with a little bit of fabric softener in the water, and dries it all by itself in the dryer. 

Well, that's all for this week, I hope you enjoyed
 seeing our experiment.
Next Friday, I want to share what I just learned
 about sewing elastic ends together in 3 different ways.

Smiles,
Miss E
 with help from Grandma


Related Posts Plugin for WordPress, Blogger...