Pages

Showing posts with label Men's Shirt remake. Show all posts

Tuesday, April 7, 2015

Recycled Men Shirt Ideas

I love to repurpose men's dress shirts.

I really enjoy using the various parts of the shirts in new ways. So I thought I would post about those different ways that I've used 
specific parts of a mans shirt- starting with the collar. 

COLLAR

APPLICATION: Finish the Neck Edge.                                I decreased the width of the collar before attaching it to the front bodice neckline only. The collar ends are sewn into the shoulder seams.


APPLICATION: Decoration

 I used two shirts and the decorative triangles are made from the tips of the two shirt collars that I used in this design. Notice how I used a larger button than normal to highlight the collar points.
APPLICATION: Shoulder Strap
I cut the collar into two equal parts and then attached it both by stitching it down and sewing the buttons on through all layers.


APPLICATION: Divider between the bodice top and skirt. Notice that the waistline tie emerges from the seam near the sewn on collar stand.


Next I will show you different ways to use the cuff.... see you then.

Smiles, 
Deborah


Tuesday, March 17, 2015

Recycled Mens Shirt Into Knotted Dress

I enjoy harvesting fabric from previously made clothing.

Papa's denim chambray shirt.


This fabric is soft and flowing and I started thinking about how I could use it to make this months sewing challenge at Project Run and Play in conjunction with this darling red robin fabric.


 Why did I choose to use topstitched box pleats instead of gathers?

  The choice to use pleats solved a problem. When I removed the pocket from the shirt front, the fabric under the pocket was darker in color.  I needed every bit of the original fabric to make the finished dress, so I hid the darker pocket shaped spot inside the box pleat.
 In addition to using this cheerful bird fabric, I top-stitched the dress in red and added red buttons to create a color scheme of denim blue and red.

Back of Dress
During the design phase of planning this dress, I decided to use the front button placket down the back of the skirt on the dress.  The placket is sewn shut and merely ornamental . You can see that I used the entire width around the men's shirt to create the skirt, and the original side seams remain.


The front of the dress uses the cuffs of the shirt and a trimmed width collar from the original shirt. I just love 
the little red ball buttons that I added to highlight these features.


 Three evenly spaced box pleats
 are used on the front skirt too.

Front of Dress
 Here is the completed dress. 
Accessories- Hair and Necklace.

Ponytail Hair Ribbons

Felt Bird Necklace


With a bit of green hair for St. Patrick's Day


Smiles,
Deborah

Sunday, October 5, 2014

Men's Shirt Repurpose: One-Piece Romper/Jumpsuit

After self-drafting a one-piece romper/jumpsuit for my granddaughter, I decided to use it again and construct it with repurposed men's dress shirts that belonged to my husband. 

 I just love repurposing men's shirts, which is part of my
 Signature Style!

Why?  Because I never follow all those "Sewing Rules" that I normally self-impose on myself. See... 'Once Upon a Time', I was a Home Economics Sewing Teacher... and I usually follow those sewing rules that I shared with my students for so many years.

But, when I repurpose there are NO RULES, 
and you must do a lot of IMPROVISING!


Let's take a closer look at this outfit:
  • I used the front button tab from the men's shirt, but I applied a pin-tucked panel next to the button tab to make it more feminine. The romper buttons all the way to the waist, and I didn't have to make a single buttonhole.
  • This romper has no collar, as my skin sensitive granddaughter doesn't always like the sensation of a collar rubbing against her neck.
  • Five different men's shirt fabrics are combined in this garment. I used a solid white shirt to give the design some visual relief when mixing so many prints. I used the darkest color check fabric for the pants area of the romper, as the fabric (Thanks Ralph Lauren) was a heavier weight, and I think a darker fabric grounds and give visual weight to the bottom portion of the garment too.
  • I used the men's cuffs on the sleeves, but they don't open. First, I trimmed down the cuffs width so they were slimmer, serged one end so it was shorter, sewed on the button again, and overlapped the cuff enough to button it. Lastly, I pinned it to the hem area making some tucks in the sleeve fabric so it would fit and  sewed around in a circle to attach it to the sleeve. This was a quick way to finish the sleeve and incorporated an original element of the men's shirt. (Gosh, I broke a lot of rules on this one...giggle....giggle.)
  • I was thinking about how men roll up their sleeves and create a cuff.  So, I used that image to create the turned up band at the bottom of the pant leg.  That was quicker, and it narrowed the look of the pant.
  • Last time I made this self-drafted pattern, I used a knit. So when I sewed in my sleeves in this woven fabric, I said a little prayer .... yet still had to take it out, and make some changes, then try it in muslin... then make some changes... and then the sleeves finally fit smoothly with ample room in the sleeve head area.
  • The facings are a perfect example of improvising. Just take a look at this picture and you will know what I mean about breaking those rules.
  • I added these crocheted flowers, and butterflies to add a bit of whimsey. They also cover the Ralph Lauren Polo Player Image that was now located in a weird place.
  • An original pocket from one of the shirts decorates the back pants leg.
  • For my sensitive skinned granddaughter, I finished the inside so it is smooth to the skin.
     A Look Inside: Finished facing and seams, and top-stitched so facings don't roll.
     
    Even though I took a pattern drafting class in college, I would really rather buy finished patterns than draft my own. Sure, I make design changes to purchased patterns all the time, but I didn't enjoy all the time and effort it took to get the fit of those sleeves just right without starting with a pattern sloper. Starting out with a pattern piece that is proportionally correct and then making changes is a lot more fun. 
 But that's good... because all you internet ladies who enjoy drafting patterns need customers like me!

Smiles,
Deborah


Wednesday, April 9, 2014

Men's Shirt Yesterday... Repurposed Today

For this last Project Run and Play Challenge,  I decided to PLAY while repurposing a man's shirt. So I asked my husband for some donations from his closet.


First, I decided to create a very feminine top and shorts out of the green check fabric because the fabric was a bit thicker than most shirting materials.

I used the cuffs for the shoulder straps.

I inserted a center panel so that I could create the ribbon holder loops.
The shirt buttons down the side, and I utilized the original button placket to do that easily.

The shorts have a top yoke, because I didn't have a large enough piece of fabric to cut it out and still match the check pattern. I'm glad that I solved the problem this way, as I like the added detail. I also used the front pocket on the back too.

The sleeve placket was used at the bottom of the shorts, complete with two pleats.   I think this is my favorite detail as I had never thought to use the sleeve placket in this way before.  I thought of this idea in my favorite meditation spot... the bathtub!


 Next, I used the grey, tan, red, and white plaid shirt to create this top.
Notice that the front and back yokes were cut on the diagonal.
After removing the complete collar with a seam ripper, I sewed the bottom seam together again, and cut the collar in half to create the shoulder straps.
The shirt cuff was used to create this pocket topper, and the top buttons down the back.


What to do with plain tan fabric?  This pocket I created for the top was the inspiration for the final design.
Make a few prairie points to enhance the hem.
The back of the top used the front button placket.
The collar quickly became the shoulder straps.


This top has white knit shorts, but they just don't show in the photo. 

The last dress was really the most challenging since I did not like the print. It just seemed a bit sad...especially to make something for a little girl.
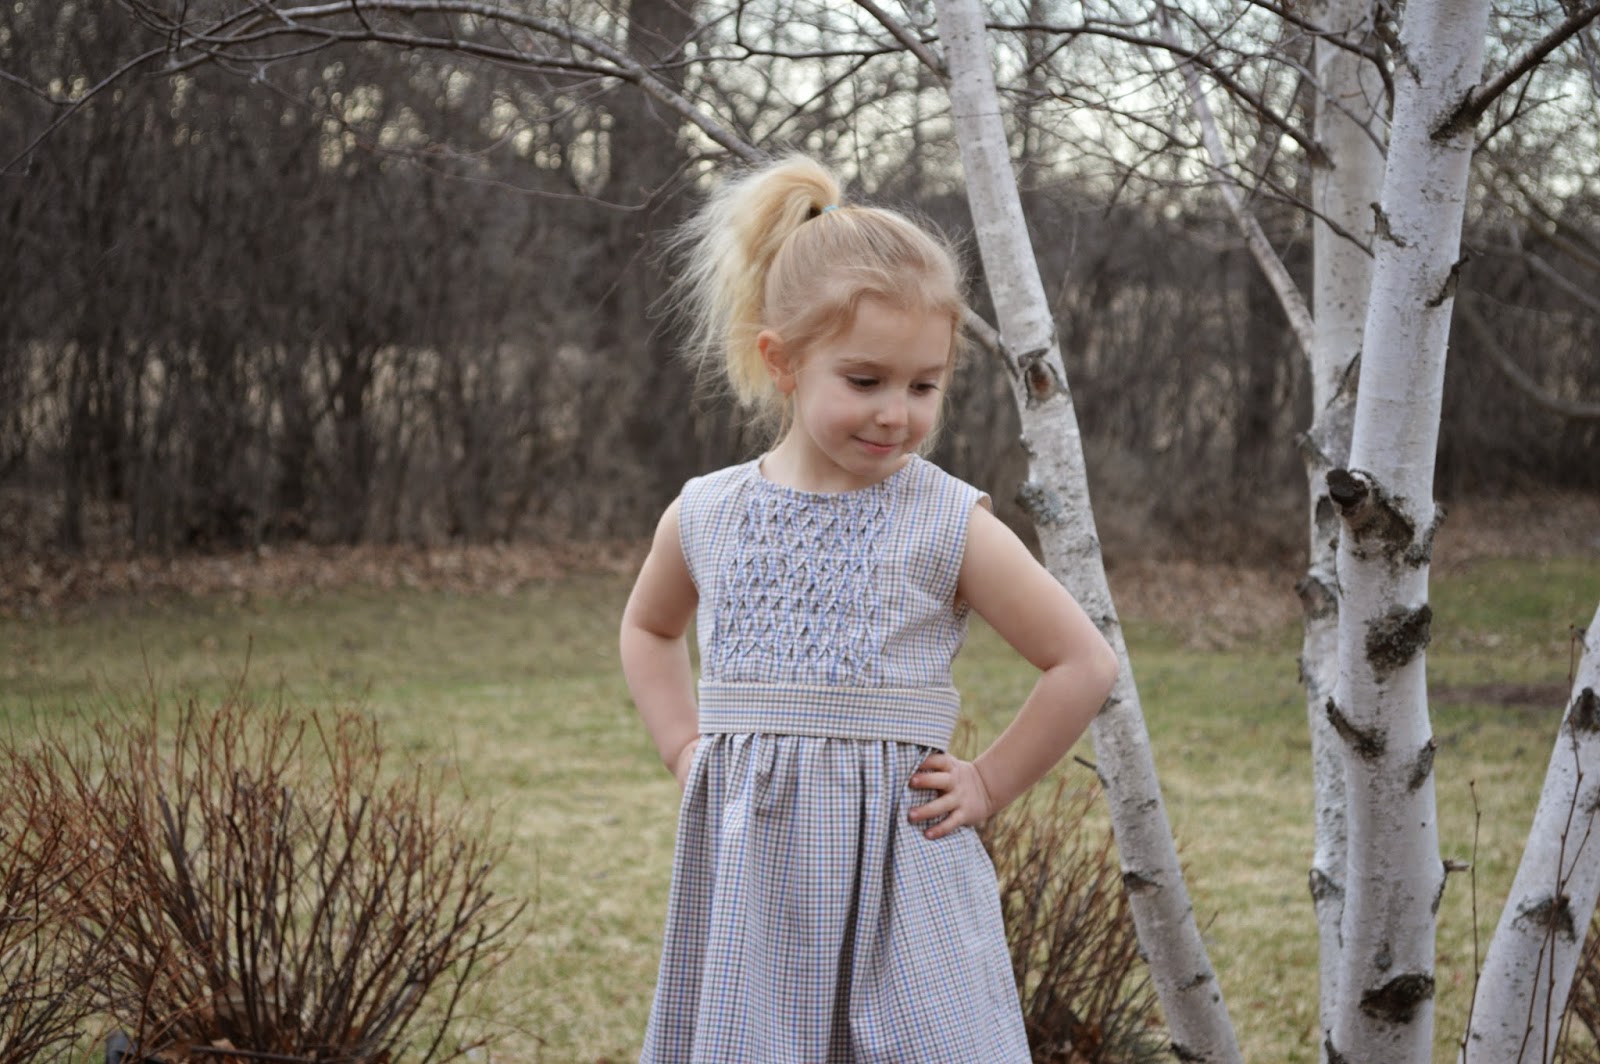
So I first tried to give the fabric a "bit of love" with this fabric manipulation. 

How about a waistline belt made out of the collar... do I see a smile yet?

Buttons down the back from the front button tab... is that a grin?

Add a collar.....NO.... that didn't work, so I seam ripped it off.
Finally, I decided that I just liked the simplicity of this dress with a few special details.


I never use to repurpose clothing, but I sure do enjoy it now. I hope you enjoyed reading about my "Play." 

Men's shirt yesterday...Repurposed Today.
Smiles,
Deborah


Related Posts Plugin for WordPress, Blogger...