Pages

Thursday, March 26, 2015

Free Madeline Dress Pattern

I CAN'T BELIEVE IT.... ANOTHER FREE PATTERN from Jessica at The Sewing Rabbit Blog.

Here is the link to download the pattern which is available in sizes 2T  - 6. It's called the Madeline Dress.

 I've already downloaded mine. I especially like the back of the dress. Use this link to check it out and download it for yourself.


Smiles, 
Deborah

Friday, March 20, 2015

Mouse Madness Knot Dress

Since there are only 10 hours left to link up to the Project Run and Play Knot Dress Challenge and my granddaughter is off to see her father this weekend, I don't have a model to show off her new dress that I just completed.

I designed it to be a simple, comfortable ... yet more grown-up dress.
I changed the straps and made the back strap longer and the front strap shorter. Then I overlapped the back over the front and sewed on a button through both layers. Lastly, I tied a knot in the longer back strap.

The fabric used in the dress is a Riley Blake knit. I use Riley Blake knits a lot because they are such a nice quality and a reasonable price. I want fabrics that will wear and launder well.


The short woven crop jacket features a Mickey and Minnie Mouse black and white cartoon with a sprinkling of red.


When she put it on originally for a fitting, she broke out dancing in  
HIP-HOP style... 
so I think she likes it.

Smiles,
Deborah

Wednesday, March 18, 2015

Happy Birthday Little Sister

Big Sister, Miss E, wanted to sew something special for her little sister for her 6th Birthday. This 2nd Grader has been learning to sew with her Grandma.  She's sewn fabric books, heart pillows, Christmas ornaments, scarecrow fabric heads, and just practice sewing on fabric scrapes to learn how to control the sewing machine. Now, she was ready for a "big thing."

So she selected some fabric to make her sister a dress for her birthday.

Her grandma helped her by marking the seams with a washable sewing marker.  You can see how she did on this picture.
Her Grandma smiled as she sewed.  This is what she heard Miss E saying as she sewed, " That's a nice speed.  Now, slow down near the end, stop, needle in, and 'ballerina twirl', now let's get going again."

So did this 2nd Grader really sew..... or Grandma? 
  Well, 75% of the sewing was done by Miss E.  Her Grandma marked the seams and did all the ironing, as she was still not ready to let Miss E use that BIG, hot, steaming iron.  Her Grandma is thinking about getting her a smaller travel iron to use for next time.

Her Papa made her sewing table from a recycled bedroom nightstand.
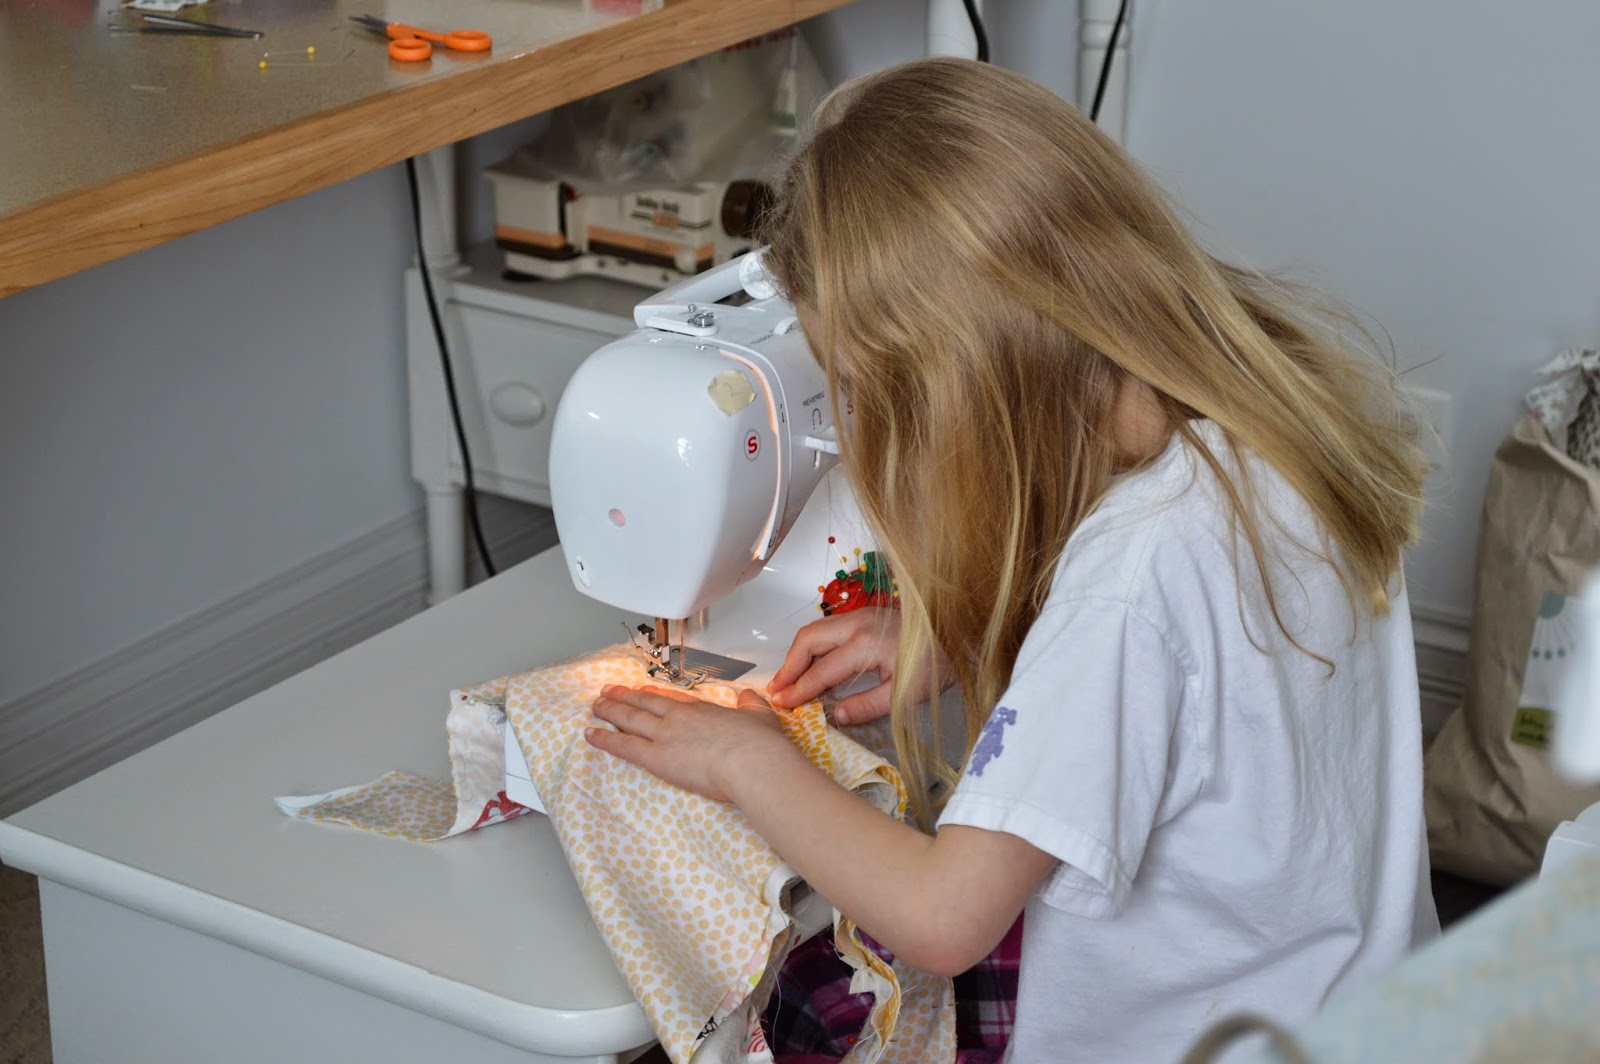
 Here is Miss E sewing the dress top, as she
s l o w l y   sewed around the armhole curves and the circle cut-out in the back.
Her Grandma sat next to her on the floor as she sewed that cut-out circle and encouraged her on... "You're doing great.... that's the perfect speed...move those hands...WOW."


Here she is sewing the gathering stitches.  Her Grandma taught her how to "walk the gathers down the fabric."  

She took a little break after gathering the fabric, and her Grandma pinned the skirt to the top as it was "really gathery and messy."

Are you ready to see the finished dress?


So... little sister.....   open the present !


Update:  Miss E is a finalist in the 
Project Run and Play Sewing Challenge.
Please vote for her here:

Tuesday, March 17, 2015

Recycled Mens Shirt Into Knotted Dress

I enjoy harvesting fabric from previously made clothing.

Papa's denim chambray shirt.


This fabric is soft and flowing and I started thinking about how I could use it to make this months sewing challenge at Project Run and Play in conjunction with this darling red robin fabric.


 Why did I choose to use topstitched box pleats instead of gathers?

  The choice to use pleats solved a problem. When I removed the pocket from the shirt front, the fabric under the pocket was darker in color.  I needed every bit of the original fabric to make the finished dress, so I hid the darker pocket shaped spot inside the box pleat.
 In addition to using this cheerful bird fabric, I top-stitched the dress in red and added red buttons to create a color scheme of denim blue and red.

Back of Dress
During the design phase of planning this dress, I decided to use the front button placket down the back of the skirt on the dress.  The placket is sewn shut and merely ornamental . You can see that I used the entire width around the men's shirt to create the skirt, and the original side seams remain.


The front of the dress uses the cuffs of the shirt and a trimmed width collar from the original shirt. I just love 
the little red ball buttons that I added to highlight these features.


 Three evenly spaced box pleats
 are used on the front skirt too.

Front of Dress
 Here is the completed dress. 
Accessories- Hair and Necklace.

Ponytail Hair Ribbons

Felt Bird Necklace


With a bit of green hair for St. Patrick's Day


Smiles,
Deborah

Wednesday, March 11, 2015

Color Explosion Knot Dress

Color Explosion !

I really enjoyed creating this colorful, 
ribbon-trimmed dress beginning with the Knot Dress Pattern from the blog, Me Sew Crazy, for the Sew-Along Pattern on Project Run and Play.

 Notice the box pleated lower skirt and the flat yoke on the top of the skirt. I substituted the flat yoke for the gathered skirt because I wanted the pleats to EXPLODE at the bottom.


 I used 4 different fabrics and 5 different woven ribbons.


  I polka-dotted like crazy.


Back of dress


The fabrics used are
 a floral polished cotton and patterned woven cottons.

Front of dress


Most importantly... my Granddaughter loves it.
Her sister made her a construction paper medal that says, " You Win. U.S.A."


Smiles,
Deborah  


Related Posts Plugin for WordPress, Blogger...