
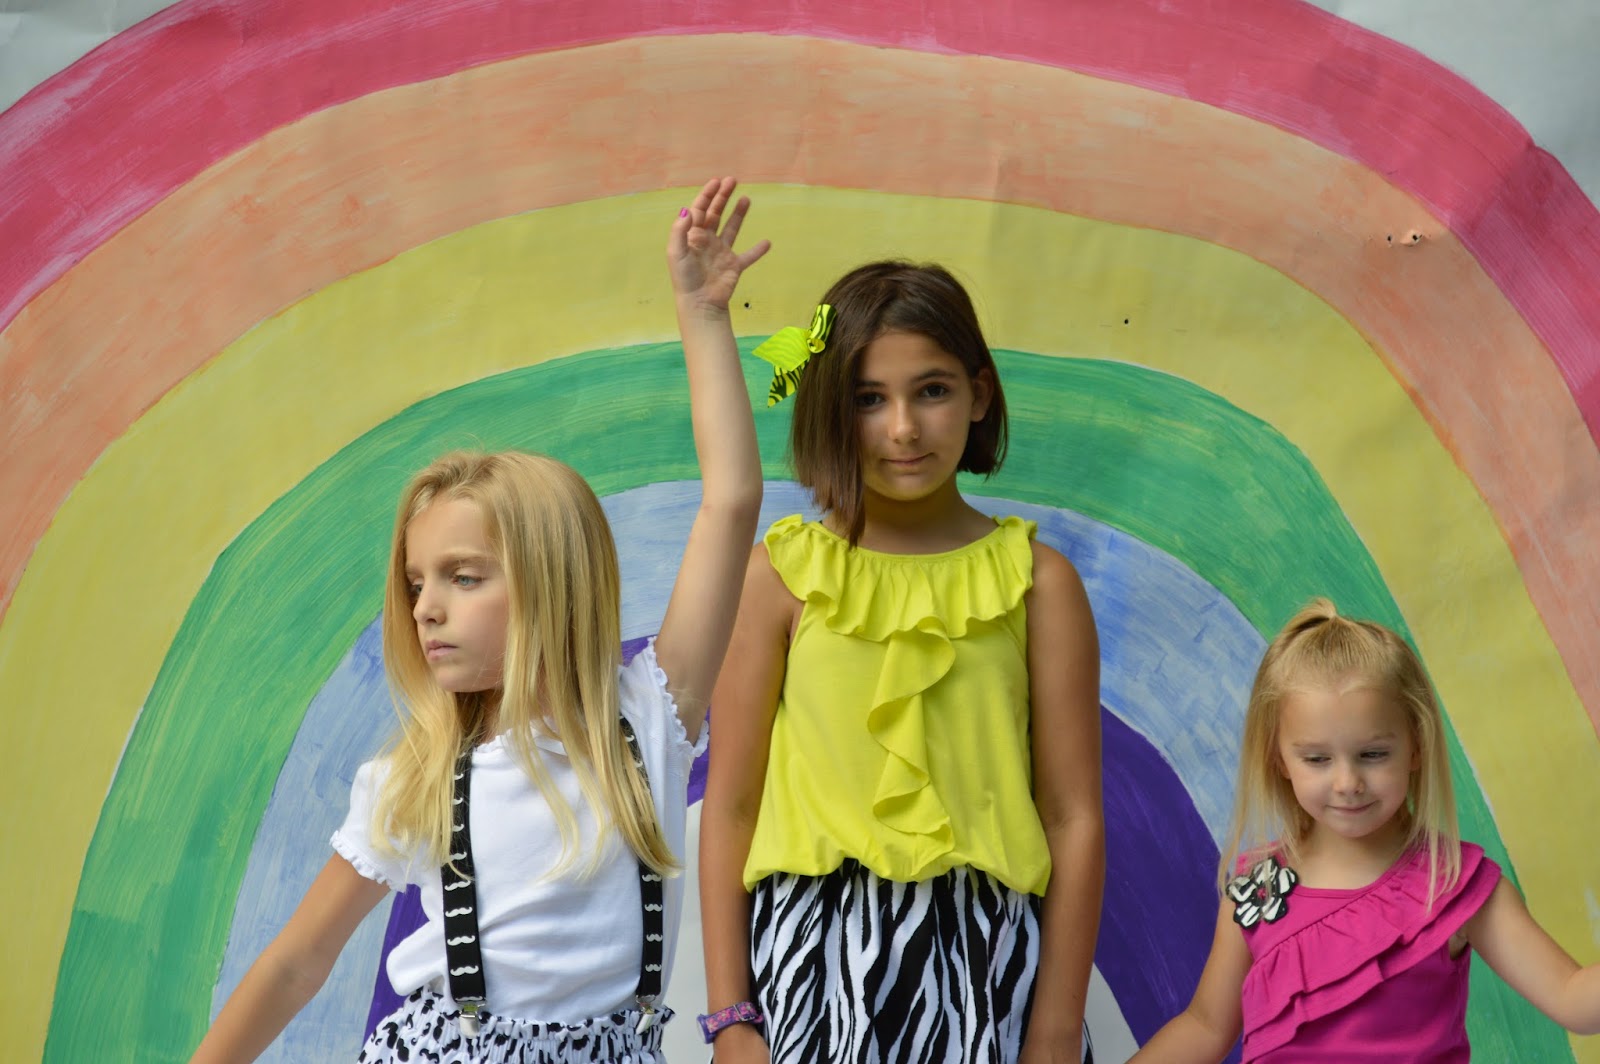
It's not quite back to school time yet, but that's the first thought that came to my head when asked to participate in Skirting the Issue. I'd love to have every child walk into school on that first day feeling special.
So I wanted to share a skirt with you that would be appropriate for girls from ages 4- 12.

This skirt idea was originally created by liz at Simple Simon and Company. My personal twist is the way in which I constructed the skirt. I'll show you what I mean as I share these step-by-step instructions. I love this skirt design idea, because a different color ribbon and shirt and you have a totally different look.
 |
| I bought a plain white sweater at the resell shop and added a layer of knit fabric to the front of the sweater. |
Now, how to make this skirt.
1. First, cut a rectangle piece of fabric with a width that is twice the child's waist. (For the cotton poplin zebra fabric, I used the entire width of fabric which was a bit wider. For the mustache knit fabric, I used 3 times the waist.) The length of the rectangle is from the child's waist to just above the knee plus 3 inches for the hem and 1 1/2 inches for the elastic casing at the waist.
2. Next. cut a piece of 6 inch fusible light weight or medium weight interfacing the width of the fabric. ( For the knit fabric, I used a knit interfacing.) Apply with an iron to the bottom of the skirt. Turn the bottom edge under one-fourth inch and stitch it down to finish the edge.

WHY THE INTERFACING??? This is the area where all the buttonholes will be made and 2 layers of fabric plus two layers of interfacing will make sewing the buttonholes easier, support the weight of the ribbon when it is threaded through the buttonholes, and provide some extra "pouf power."

3. Next, I made the casing for the elastic waistband across the top.
Finish the edge by turning under the fabric one-fourth inch and stitching. Then, knowing I was going to use a 3/4 inch elastic, I turned down the casing another 1 1/4 inch and sewed right next to the hem edge. At the top of the casing, I sewed a 1/2 inch line of stitching to finish the top edge with that "Paperbag Look."
.JPG)
So you can see from this photo that I have finished both edges of my rectangle.

There is NO MATH involved in deciding where
the buttonholes will be placed
... JUST Divide By Folding
 |
| The arrows show the placement of the buttonholes in the hem area. |
The pins indicate where the mid-space between the two buttonholes is located. Each set of buttonhole pairs are around 5 inches apart.
Then, I made a template with a post-it note to stick at the edge of the hem to mark where the finished set of two buttonholes will go.


5. The length of your buttonhole is determined by the width of the ribbon you want to use in your skirt. I used 1 1/2 inches long. Use "Fray Check" to seal the buttonholes and the ribbon ends before cutting them open. Cut buttonholes.
6. Thread the waist elastic through the casing and secure with a pin. Sew the side seam with a 1/2 inch seam, sewing through the elastic and all the way to the top of the skirt.
*NOTE TO SEWER: When I sewed the knit skirt, I added extra seam allowance area. The knit fabric "curled" and I wanted to place pins on both sides of the seam to sew a straight seam. This made the process easy-peasy. Zig-zag on the inside of the seam, and trim.

7. Thread the ribbon through the buttonholes, cut the ends diagonally through the fray check soaked area and tie into a bow.
On this photo, I wanted to show you that I didn't tie a bow for the Fifth Grader because I thought it looked more appropriate for her age.
.JPG)


8. Smile, it looks fabulous doesn't it, and so will yours. Leave me a comment about how your skirt turned out...I'll be waiting to hear from you. If you have any questions, post your questions in the comment section. Remember all kids are different, but they all want to feel special, so join the movement and make a skirt for someone. Giving to others feels better than I can describe.
Deborah
These are so cute Deborah! Love the pictures too!
ReplyDeleteCute Cute Cute !!!
ReplyDeleteThank you for sharing.
Love the cute outfits, and the versatility! Your models are beautiful. Thanks for sharing with us at Revisionary Life Thrifty Life Thursday!
ReplyDeleteDeborah, Thank you so much for sharing your girlies and your skirts with us!!! Really...thanks a million.
ReplyDelete