Pages

Friday, May 30, 2014

Girl, Frog, and Summer


"Look a baby frog!"

"It doesn't feel very slimy."

"It's so interesting..."

"Don't you just love summer!"

Sunday, May 18, 2014

Shades to Coordinate with Anthropology Comforter

"Mom, I need some new window coverings for this WILD AND COLORFUL Anthropology comforter that I bought the other day. I want something that is a big pop on the window too."

These pictures show you the stylized flowers in the comforter.


Here are the shades that I created to go with the Anthropolog quilt:


First, we photographed the actual fabric on the comforter, and created designs to mimic the images on the fabric.
This is part of the second shade.


I used wool felt and stenciled fabric paint onto the fabric to make the designs.
They button up to let in light. There are two levels of clear buttons so you can open the shade half way.

WILD HUH!!! Sometimes I wonder where in the world I get these ideas.

Smiles,
 Deborah

Shared at: Simple Simon and Company
 http://www.simplesimonandco.com/wp-content/uploads/2014/05/sewing-saturday-button-real_edited-1.jpg

Friday, May 9, 2014

Button-up Shades for a Little Girl's Room

I've been sewing button-up shades with black out lining.  Not too exciting... but a year of paper shades was enough! I really wanted the window trim to be visible, but because these are crank out windows with the screen on the inside, there is limited space for the window hardware to be screwed into the top of the window.

Each shade has 6 white buttons to make the 2 different heights that are possible. The buttons blend into the white linen fabric, and the elastic button loops along the bottom of the shade make it so easy to just Button-UP!

The fabric looks like a textured white linen with Barbie Pink poofs that explode from the background.  My granddaughter said that she likes the furry dots the best.


Smiles,
Deborah

Linking up to Simple Simon and Company's Saturday Linky Party

Tuesday, May 6, 2014

Built-in Bookcase, Part 6..Almost Finished

The bookcase/window seat is one more step closer to being completed now the I've put all the new hardware on the bookcase doors and added the glass shelves.
  Here it is....


I added safety glass/tempered glass to the panels nearest the window seat. I was worried that one of my granddaughters might accidently hit the glass with one of their feet as they laid out on the window seat cushions reading one of their books. I would never forgive myself if I didn't spend the extra money to protect them. Each of the two panels were $65.00 each for the safety glass. 


When I put the shelves in the bookcase, I placed them at different heights, so they are not symmetrical. I thought it was more interesting.  Here is a peek inside the bookcase:

This one features some of my Wizard of Oz books from my collection.  As a child, I read the whole 14 book collection and it has been a favorite of mine.  


This one is not finished, as I want to add more books.  The bookcases have mirror backs and puck lights at the top of the bookcase.
Now, on to sewing the cushion for the window seat.
Smiles,
Deborah

Wednesday, April 9, 2014

Men's Shirt Yesterday... Repurposed Today

For this last Project Run and Play Challenge,  I decided to PLAY while repurposing a man's shirt. So I asked my husband for some donations from his closet.


First, I decided to create a very feminine top and shorts out of the green check fabric because the fabric was a bit thicker than most shirting materials.

I used the cuffs for the shoulder straps.

I inserted a center panel so that I could create the ribbon holder loops.
The shirt buttons down the side, and I utilized the original button placket to do that easily.

The shorts have a top yoke, because I didn't have a large enough piece of fabric to cut it out and still match the check pattern. I'm glad that I solved the problem this way, as I like the added detail. I also used the front pocket on the back too.

The sleeve placket was used at the bottom of the shorts, complete with two pleats.   I think this is my favorite detail as I had never thought to use the sleeve placket in this way before.  I thought of this idea in my favorite meditation spot... the bathtub!


 Next, I used the grey, tan, red, and white plaid shirt to create this top.
Notice that the front and back yokes were cut on the diagonal.
After removing the complete collar with a seam ripper, I sewed the bottom seam together again, and cut the collar in half to create the shoulder straps.
The shirt cuff was used to create this pocket topper, and the top buttons down the back.


What to do with plain tan fabric?  This pocket I created for the top was the inspiration for the final design.
Make a few prairie points to enhance the hem.
The back of the top used the front button placket.
The collar quickly became the shoulder straps.


This top has white knit shorts, but they just don't show in the photo. 

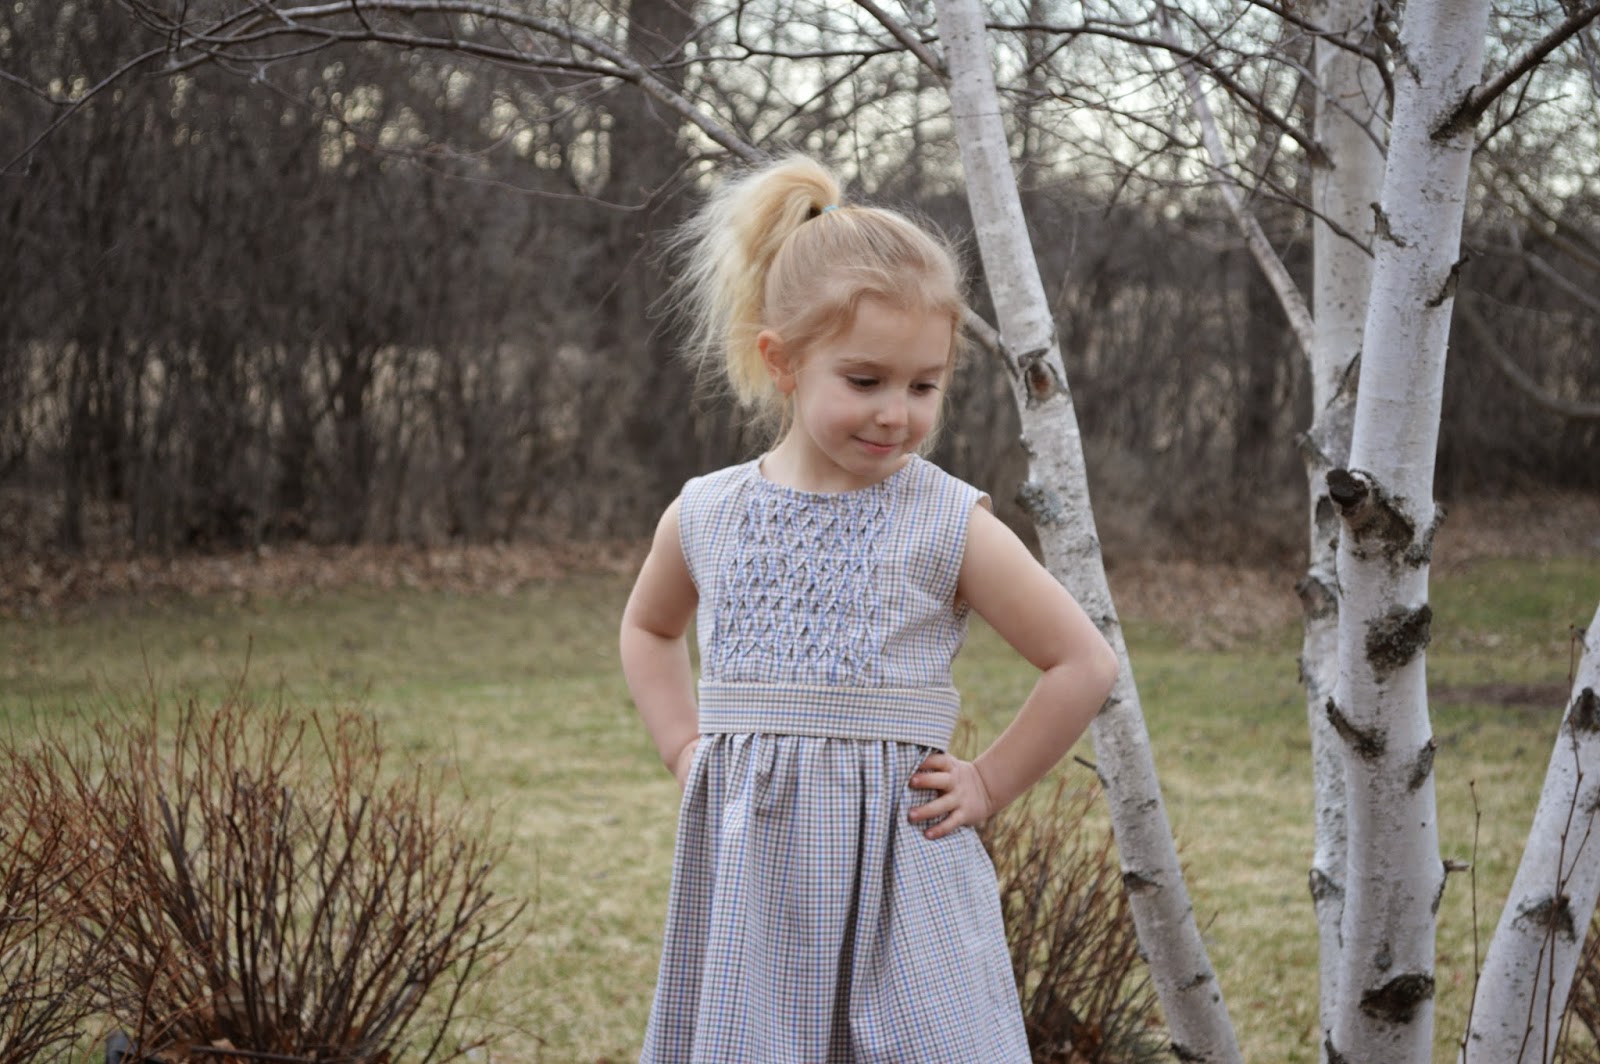
The last dress was really the most challenging since I did not like the print. It just seemed a bit sad...especially to make something for a little girl.
So I first tried to give the fabric a "bit of love" with this fabric manipulation. 

How about a waistline belt made out of the collar... do I see a smile yet?

Buttons down the back from the front button tab... is that a grin?

Add a collar.....NO.... that didn't work, so I seam ripped it off.
Finally, I decided that I just liked the simplicity of this dress with a few special details.


I never use to repurpose clothing, but I sure do enjoy it now. I hope you enjoyed reading about my "Play." 

Men's shirt yesterday...Repurposed Today.
Smiles,
Deborah


Related Posts Plugin for WordPress, Blogger...