Pages

Saturday, June 28, 2014

Adding the Pillows to my Windowseat

I'm trying to think outside of my normal symmetrical thinking. 

Could you help me?

Here is how I would normally place the pillows:

Mary, my decorator friend, suggested this:


My daughter suggested this:
Which one do you like best?


I made the envelope style pillow and the bolsters.  I plan to post about how to make the bolster. But, I just have to tell you how amazing this little sewing machine foot is...the piping foot. It makes making and applying piping SO MUCH easier. So come back and I"ll tell you all about it.

 Smiles,
Deborah

Thursday, June 19, 2014

Built-in Bookcase/Windowseat: Finished Cushion, Part 9

I'm so excited...I finished my cushion and I just LOVE IT!
 It is the best fitting cushion that I've ever made.


When I made these 20 yards of piping, the job seemed a bit overwhelming, but I just took it step-by-step
 and it all came together.

After I sewed on the top row of piping on the windowseat top, I realized that it was about one-half inch too big, and would not be as tight a fit that I wanted. 
 So since it was late at night,
 I went  to bed muttering nasty words.

At 5:00am, I was up with my ripper pulling all that piping off and  recutting the top one-half inch smaller. I just knew that the work would make a finished project that I would be happier with in the end.  
Yeap, much better when I tried the top on again. 

Just look at that nice tight fit.
Here is another related post about making the cushion: Making a pattern and cutting the foam for the cushion

Smiles,
Deborah

Wednesday, June 18, 2014

Built-in Bookcase/Windowseat: Cushion, Part 8

After visiting multiple different fabric stores, both in person and online, I finally chose this fabric for the windowseat cushion.


You see circles, but I see STRIPES. Stripes need to be matched, just like these circles need to be matched, so that will influence how I lay-out my fabric when cutting it out.

My windowseat is quite wide, so the circle stripes will run from the front of the seat to the back of the seat.


 I want the top and bottom to match.

 I  know you can't see them both at one time, but what if I get a terrible stain on the top?  I think the seat is symmetrical enough that I will be able to flip the cushion.

I also want the 3 inch strip between the top and bottom to match too. I have to admit that I have a "thing" about unmatched prints...it drives me crazy!

 SO when I laid out the fabric, I considered where the finished seam would end, so I could line up the circle stripes.
 Here goes.... I cut the fabric pieces one piece at a time. You can see from this photo that I used the first top section, flipped over right side to right side, to serve as the pattern for the bottom section. Now I know that they will match perfectly.
 
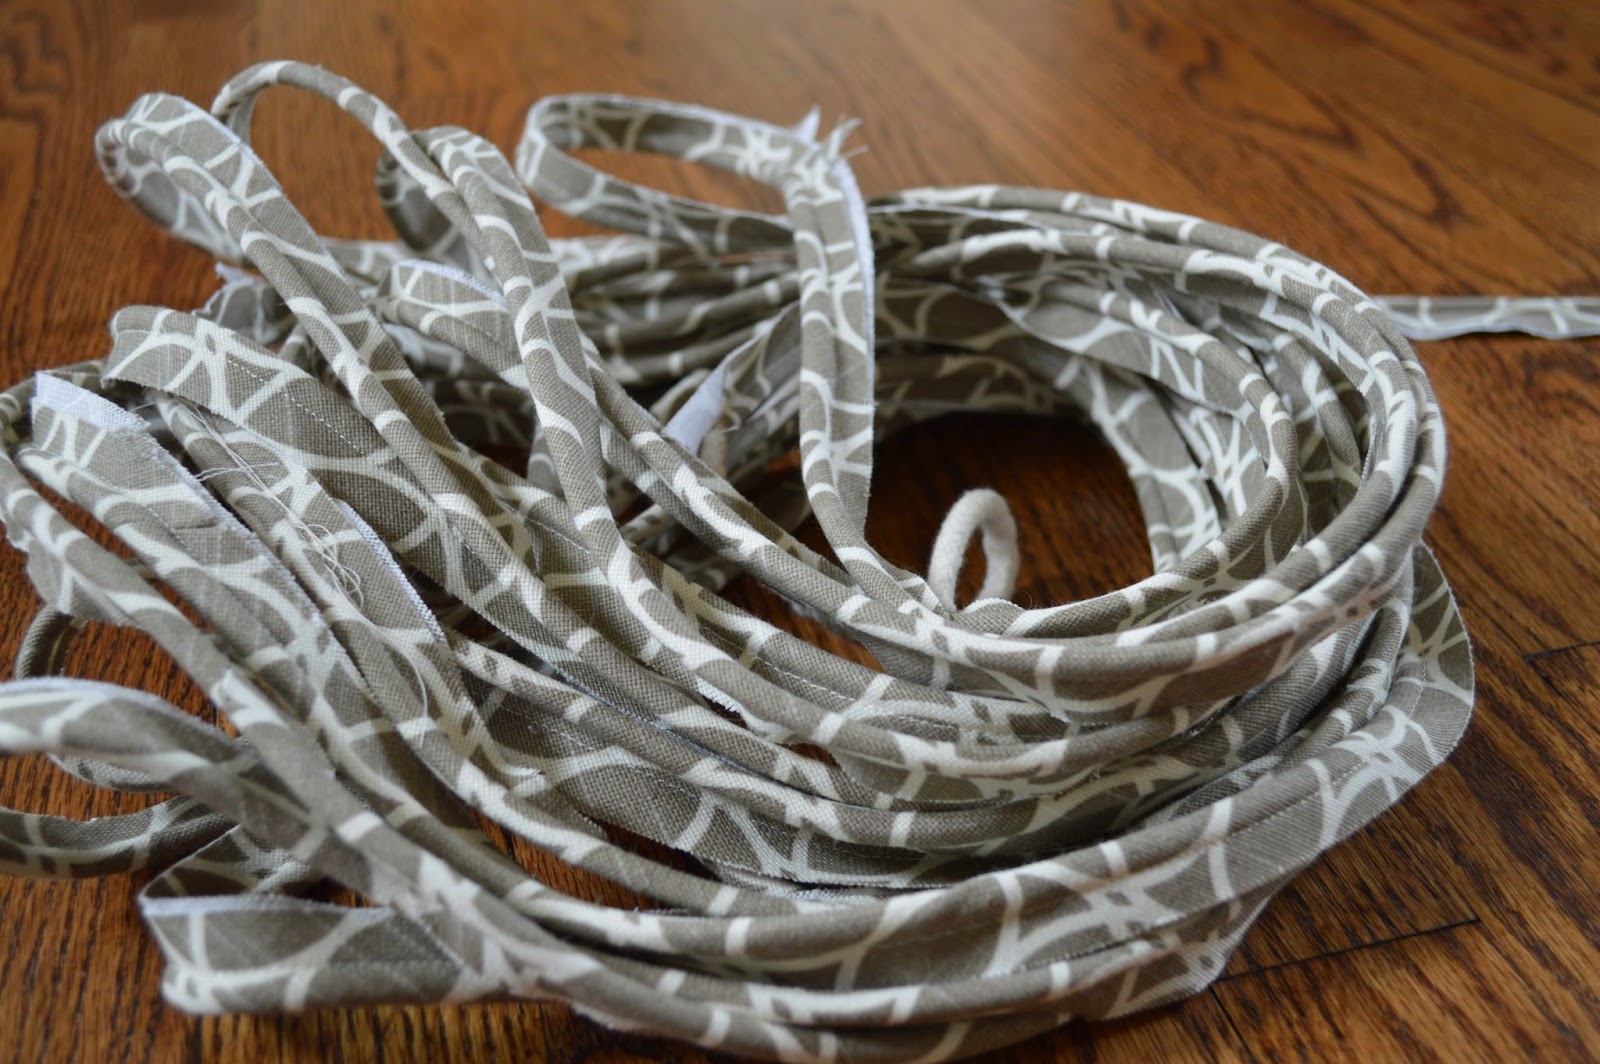
In the next post, I will show you how I made the covered piping.

  Hint: My husband always says,
 "The right tool for the job makes a HUGE difference in the finished product." 

Smiles,
Deborah

Saturday, June 7, 2014

Built-in Bookcase, Part 7...Windowseat Cushion


 The next step is to make a cushion for the windowseat. So I began by making a pattern.

I used this one inch graph paper that I had.  If you don't have this kind of paper, any paper is fine...shelf paper, wrapping paper, and even taped together newspaper.
I placed my paper on the windowseat and lined up the front edge. I taped it into place with blue painter's tape, as I didn't want to pull off any paint from the seat.  Then I used my fingernail to crease the paper at the back edges.

 I left one half inch around the pattern, so this pattern can be used for both  the foam and my fabric.

 Now it's time to use the pattern to cut out the foam. I again lined up the front edge and stuck my pin into the foam to hold it in place. Then using a thin marker and a yardstick, I traced the pattern onto the foam.


Well, I had a little problem finding 3 inch foam that was 27 inches wide and 103 inches long, so I couldn't buy it locally unless  I pieced the foam. Therefore, I went to the Internet. I obtained my 3 inch 30 inch wide from www.OnlineFabricStore.net.  It was actually 3 X 30 X 108 High Density Upholstery Foam and I am quite happy with it.

Now, to cut the foam. I used my electric knife. This picture shows you how to hold the knife perpendicular to the foam so your cut is straight on the face of the edge.  Just think of it as using a jigsaw. I placed my cutting board under the foam, and moved it as I cut the foam so I wouldn't distress the surface under the foam. 

 So how did that turn out?
Look at this BEAUTIFUL cut!!!
 And the pattern created cut foam that fit right into the corner of this trapezoid shaped seat.

Here is the finished cut foam, that's ready to be covered with my fabric.

Smiles,
Deborah 

If you want to read more about the building of this Built-in Bookcase/Windowseat just click on the link under Labels.
Related Posts Plugin for WordPress, Blogger...