
It all started with 2 Men's shirts that belonged to her Grandfather (Papa).
One was a very small blue, white, and yellow plaid, and the second was a light yellow oxford.

As you create the dress you keep thinking...
how can I creatively use the parts of the shirt?
 |
| If you click on the picture it will enlarge so you can see the details. |
First, I have to thank my lucky stars that the side seams in the Men's shirt was matched, and that the shirt was cut on grain!!!!! It made it easy to cut around the entire width of the shirt using the plaid as my cutting guide. That piece was then gathered at the top to create the dress front and back. I just loved using that front button tab down the back and not making any buttonholes or sewing on a button to match. YEAH!

The front and back bodice were cut from the sleeves of the plaid shirt.
THEN I had the idea to use the cuffs as the shoulder straps...... that made me smile :)

I utilized the placket in the sleeve when cutting the back bodice, which was a bit tricky to finish the edge on the other side.
 |
I needed to add two button holes in this area. |
I finished the bottom of the dress with a strip of fabric from the yellow oxford. Then I added all these buttons from my button box. Before I throw one of my husband's shirt away, I always cut off the buttons and save them, so I had lots to choose from.
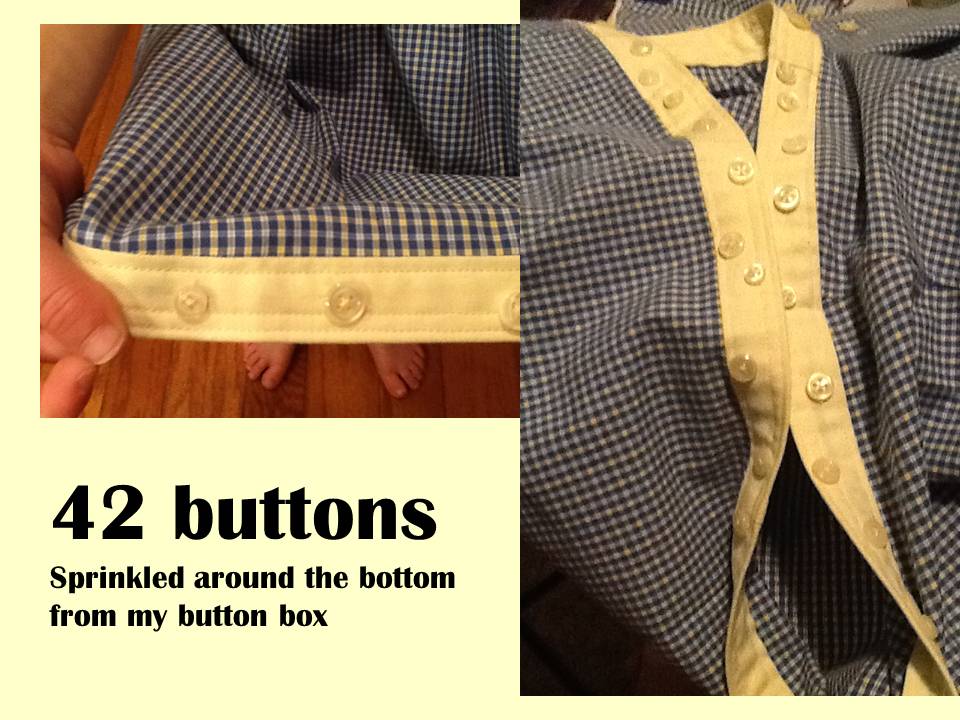
A funny story about those buttons is that I sewed most of them on at the car repair shop while I waited for my car to be repaired. One of the mechanics took my picture to show his wife that women really do know how to sew on buttons.
He took a step by step sequence to show his wife
"How to Sew on a Button".


I can't wait to make my next creation as this one was SO MUCH FUN!
Deborah
Here's your link back to Project Run and Play. I hope you enjoyed seeing my sundress as much as I enjoyed creating it.
Please leave a "trail of your thoughts" as I so enjoy reading them.
That is super cute and very clever. This challenge has been a struggle for me. I'm still trying to come up with something creative and fun.
ReplyDeleteThe first thing that I had to do is to let go of all the "Rules" one follows as you sew. Let your creativity run and that's when the fun begins. I actually cut my pattern pieces out as I sewed..."Now where oh where am I going to cut out that back bodice from?"
DeleteDeborah
This turned out so cute!! I've really enjoyed all your creations on your blog! I've also just begun a new blog. I'd love for you to check it out and follow me if you like it!
Deletehttp://thegregariouslife.blogspot.com/
Very girlie! Love it!
ReplyDeleteThanks Olga,
DeleteMy granddaughter just came home from ballet when I asked her to pose for the picture. She even threw in a few ballet moves :)
Deborah
great job !
ReplyDeleteVery cute, I love the colors of the the shirts together!
ReplyDeletegreat job - awesome use of materials and mixing of fabrics!!! It ended up being a very sweet dress with a great history!
ReplyDelete